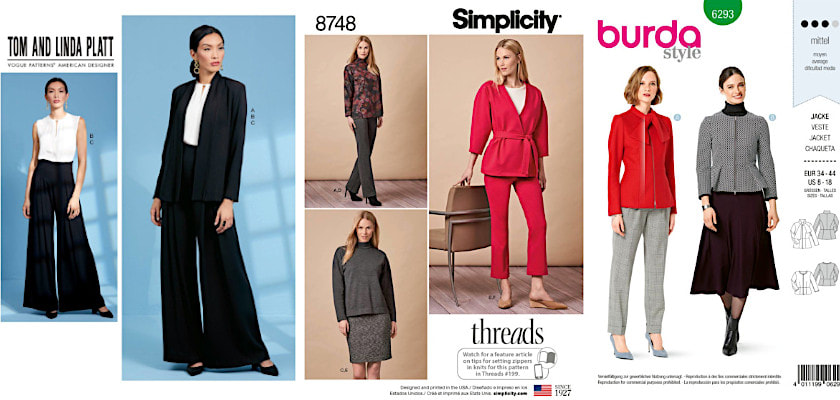
 Maybe you recently started sewing face masks, or you used to sew. Cushion covers, baby clothes or maybe a skirt. You think about yourself as an absolute beginner. You would like to make all those beautiful clothes in sewing magazines, but you are hesitating.... Do not hesitate but buy a sewing pattern of a garment piece that you would like to make, and we will help you step-by-step to realize your sewing project. Superb sewing patterns An other situation: Sewing patterns always look beautiful. Usually the model on the front of the envelope, looks super slim, she is a great model and the clothes seem easy to make. If the sewing pattern is indicated as 'Easy', or it is exactly what you want, you buy it! But you have not started yet this sewing project "I will never be able to make it", you think and you regret the impulse purchase. But it will work and we help with step-by-step information. 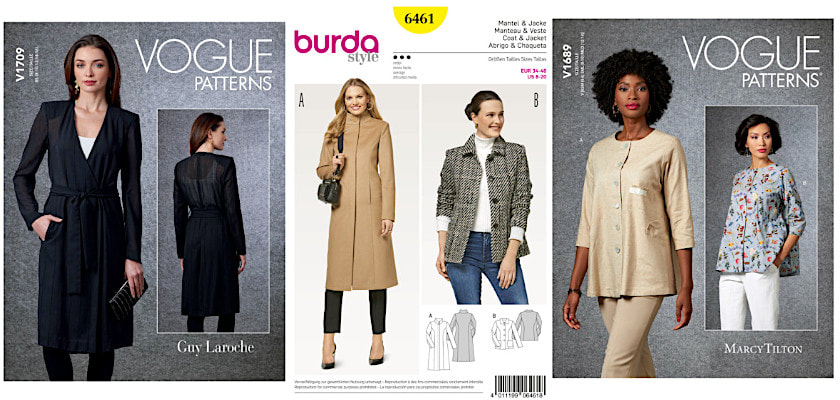 1. Read the back of the pattern first Most sewing patterns have all the important information on the back of the envelope, which contains the pattern. The recommended fabric is indicated and the quantity you need. Stick to this advice, because if you choose a different type of fabric, it is more likely that the sewing project will fail. Tip: always buy half a meter of extra fabric. This allows you to correct mistakes such as incorrectly cut pattern parts or frayed edges that you cut or sewed too narrow. Moreover, it is useful to always keep a piece of extra fabric in any case in case your jacket breaks or a cup of coffee goes over it while wearing it. Furthermore, the desired sewing level is often indicated on the envelop. Keep this in mind because as a beginner it is really not advisable to make a garment that requires a lot more sewing experience. If you are in a sewing class or you follow a workshop, you have a helping hand. But if this is not the case: stick to your sewing level and do not overestimate your experience. Notions are also mentioned on the back of the envelope. You may need a zipper, buttons, an eye-hook closure and extra interfacings to reinforce collars and front panels. 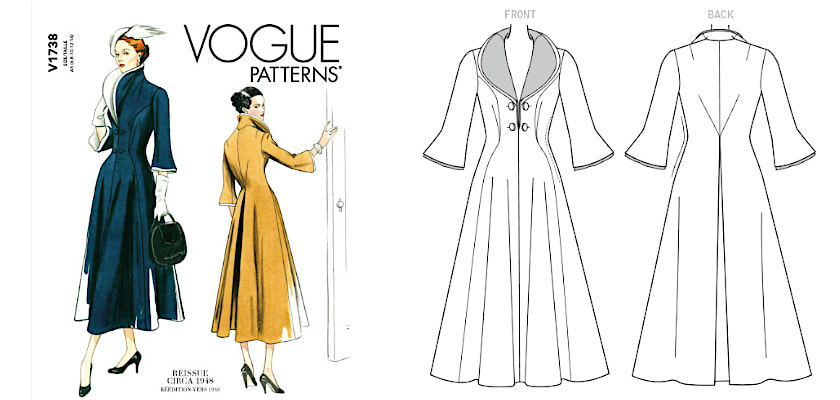 2. The instructions of a sewing pattern The envelope contains the sewing pattern itself and the work description/instructions. The work description usually consists of 2 to 3 large sheets. Take a look at the instructions before you start cutting. You may feel like cutting out the pattern parts immediately, but it really pays off if you look at the work description first. If the sewing pattern is a multi-pattern, for example a jacket consisting of two models, or a skirt, pants and blouse as a total outfit, then each model has a letter. For example, if you only want to make jacket A, you can see below the drawing which pattern parts you need. Please check carefully, on the 'body measurements' which size suits you best. Below this chapter, there is an explanation of the symbols on the sewing pattern and the work description sheets. Read this also carefully. For example, how is the right side (outside) and wrong side (= inside) of the fabric indicated? And how can you see the grainline? This is indicated on the sewing pattern part with an arrow. Always align the arrow with the thread direction of the fabric. Examples of how to place the cut out sewing pattern parts on the fabric are also important. This is also handy to check if youdid not missed any pattern parts and especially how to do this most conveniently. . Do not forget that 'cutting' is a specialty and at the Haute couture fashion houses the couturiers put their scissors in very expensive fabrics. They don't just do this. The pattern parts are carefully placed on the fabric and cut out. The cutting schemes on sewing patterns for the consumer market are usually devised by a computer with a calculation program. Sometimes it may seem very unfavorable, but the thread direction is ALWAYS dominating and it is always correct. 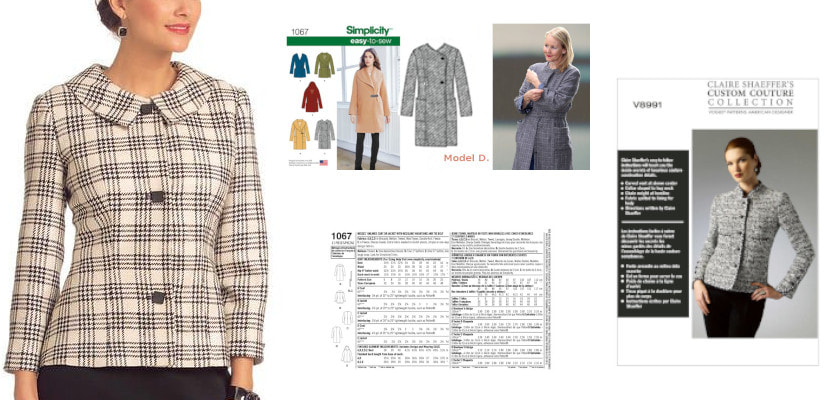 Let's start!
Apart from the descriptions of terms and extra sewing instructions, the sewing instructions now follow each pattern part. When in doubt, take a look back at the definitions and always keep the paper at hand. You have already cut out the pattern parts from the paper and onto the fabric. You have already copied all the important points, stars and arrows on the fabric by means of pins or chalk. But it could still be that you missed a symbol ... Tip: Wait a while before neatly folding the pattern up again and putting it back in the envelope, but keep it handy. Your review: The garment is ready and your sewing project is complete. If you have taken it all step-by-step, you have probably succeeded in making a beautiful, fitting piece of clothing! Tip: Process your notes and any comments and remarks on an A4 piece and put them in the sewing pattern. You can also make notes with pencil on the sewing pattern. Either way, should you ever use the sewing pattern again, you will have notes that you might have forgotten otherwise. For example: the sleeves are a bit too tinarrow. Or: the fabric turned out to be too 'loose' and the jacket therefore looked a bit sloppy. Now you know that next time you will have to adjust the sleeves slightly and go for a slightly stiffer fabric. More info: Comments are closed.
|
All about creating your own Chanel-Style jacket, Chanel-lovers information, Historic Costumes, Couture & Sewing book reviews and tutorials.

By: Marga van der Vet,
50+ model
Content creator

|