|
For fast and professional edging, hemming, seaming, and decorative stitching, you simply can't beat a serging machine.
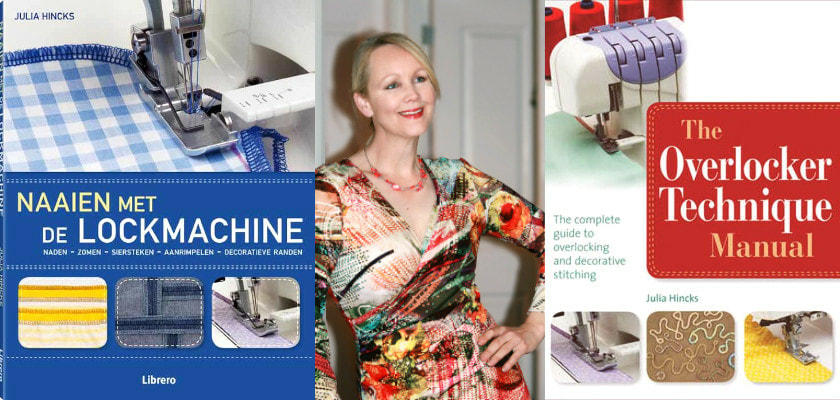
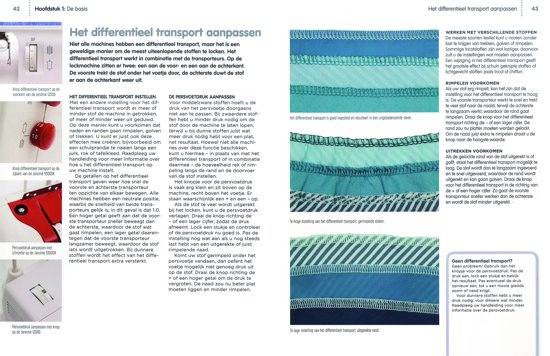
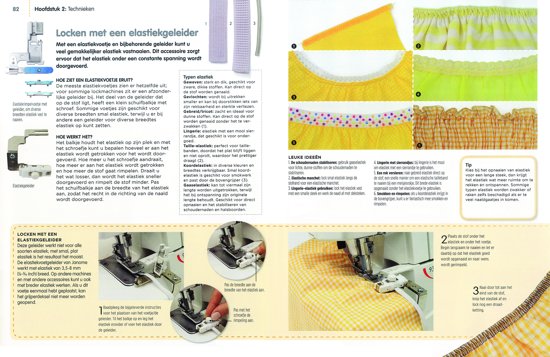
This all-skill-level book is the perfect guide to make sure you get the most out of your new machine (or out of that old serger that you've never got the hang of!) Photographs and step-by-step instructions guide you through the essential techniques, showing you how to set up your machine, how to adjust the settings to get the best results on a range of different fabrics, and how to edge your fabrics quickly with perfect results. The troubleshooting section provides tips and quick fixes for skipped stitches, snapped threads, and uneven stitching. Also includes a buyer's guide to different sergers, providing you with advice on finding the right machine for you. OUR REVIEW: perfect!
a bit less interesting
Notes: We love all the beautiful examples. But it all looks a bit like a mamma or grandmother is sewing (locking) for her baby. Next edition: please provides us with more pictures of modern clothes or beautiful couture. We are reading them all and inform you about these wonderful books:
(Couture) sewing books Book Reviews: valuable sewing books Chanel, Chanel-couture, fashion and couture books How to make a weight blanket. Maybe you have heard about it, or maybe a 'weight blanket' doens't ring a bell... We are going to talk about a WEIGHT BLANKETS. More specific: how to make a weight blanket. Does this sewing-project belong on the website SewingChanelStyle? Mmmm .... actually not. But we do it anyway, because we are simply too enthusiastic and also love to sleep well.
What is a weight blanket? First an explanation here. A weight blanket is a heavy blanket. Most people find it delicious to sleep under a heavy woolen blanket. Not only because of the warmth, but more the idea of lying under something heavy. Duvets are now as light as a feather, nice and cool in the summer, but we often miss the feeling of something covering our sleeping body. Tender feelings We are not going to show science reports etc., but we will mention some experience-facts. Weight blankets just feel good. Mothers with hypersensitive children or children with sleeping problems, swear by it. And we love them too. A weighting blanket covers well on and 'around' the sleeping person. The weight creates more pressure and this makes it easier to relax and fall asleep. You will sleep as a stone. "A very deep sleep". On the Internet, the weight blankets even claims to be ideal for people with autism, add / adhd, dementia, spasms, serious behavioral problems, hyperactivity and people with relaxation problems (such as Huntington and Korsakov). Make it yourself! However, weight blankets are expensive. This is mainly due to the materials and the great unfamiliarity with weight blankets. And that's wy we are going to make one ourselves. An inspiring challenge. Let's start! What do you need to sew a weight blanket?
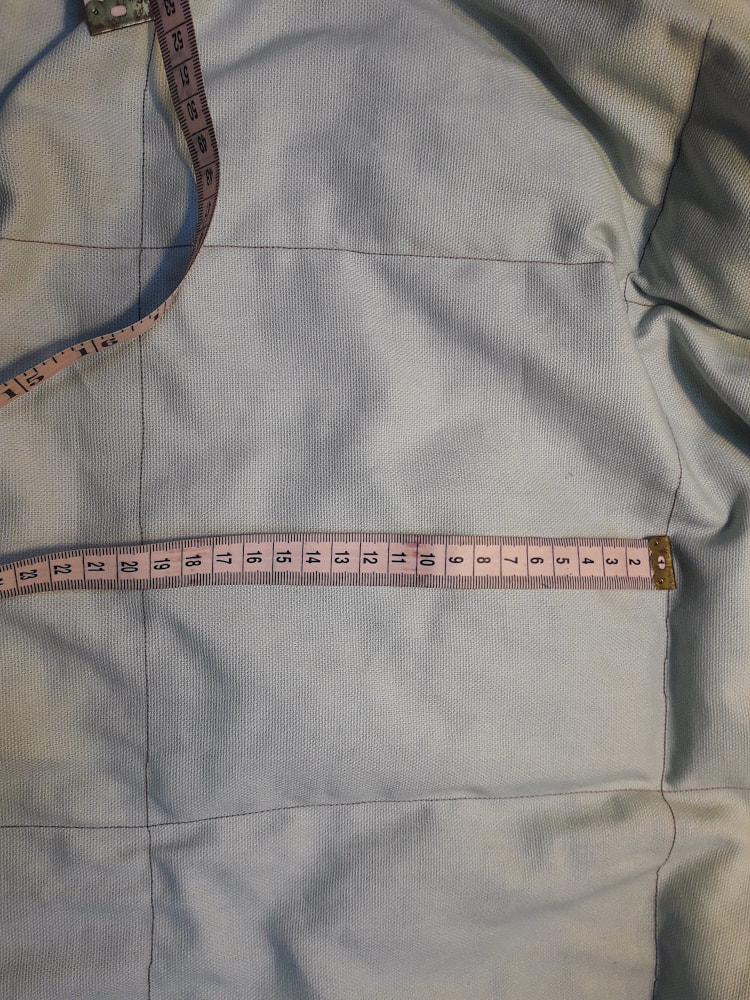
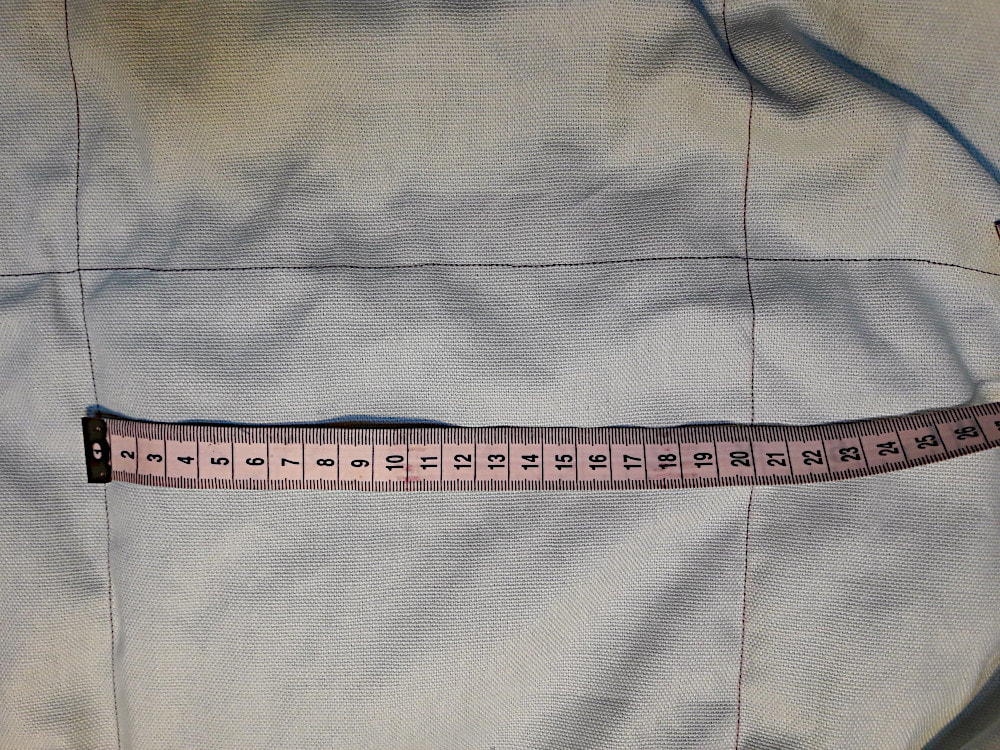
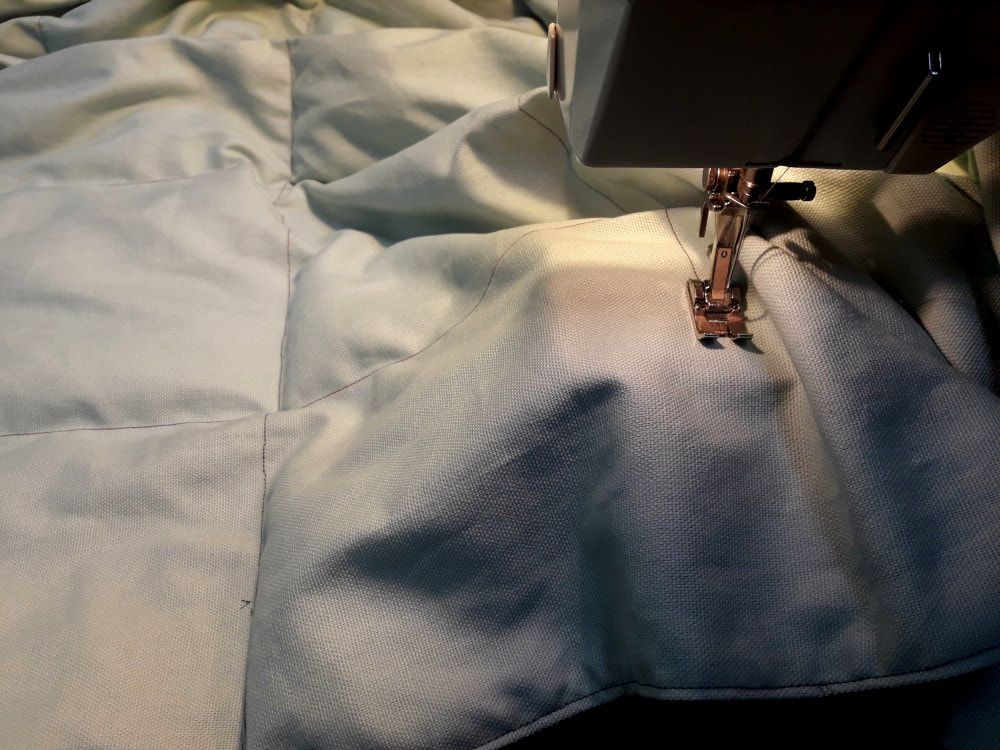
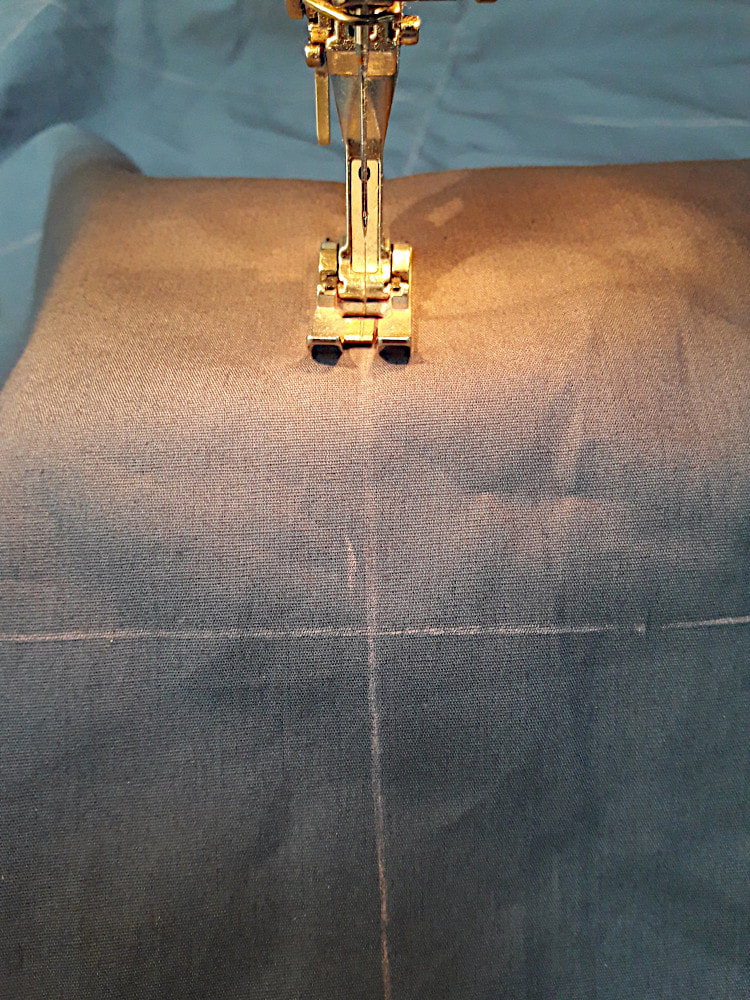
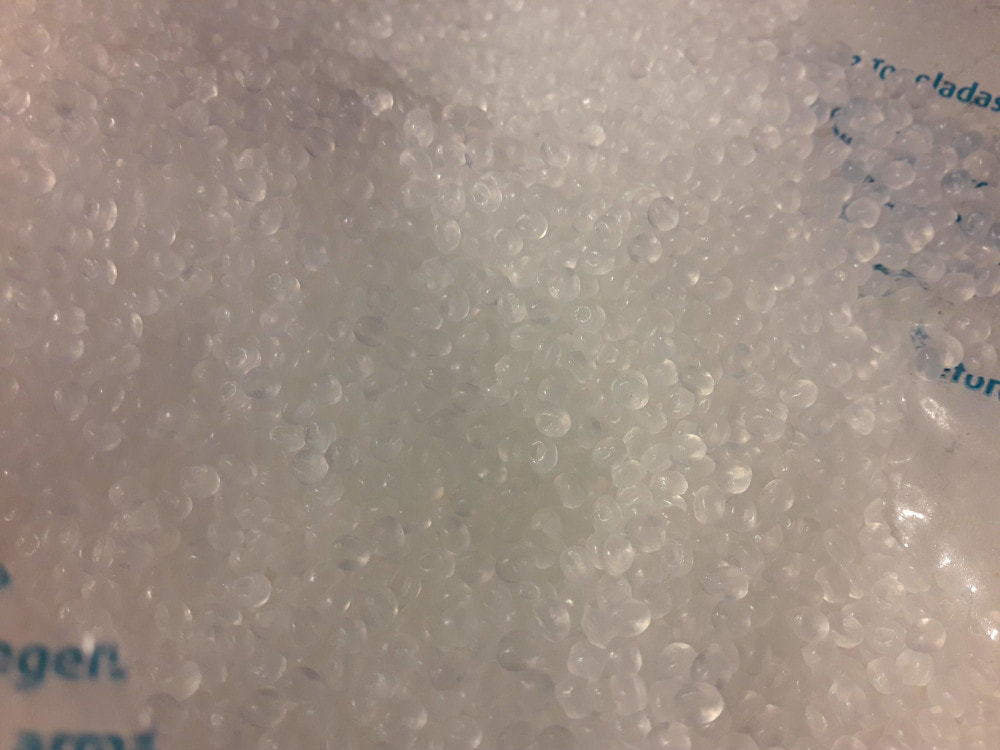
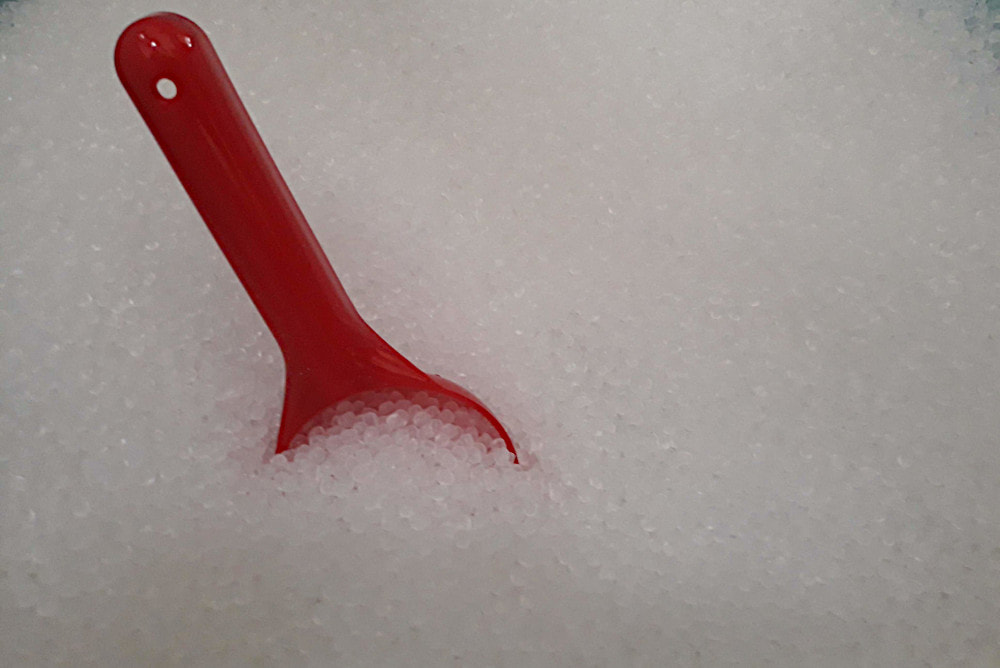
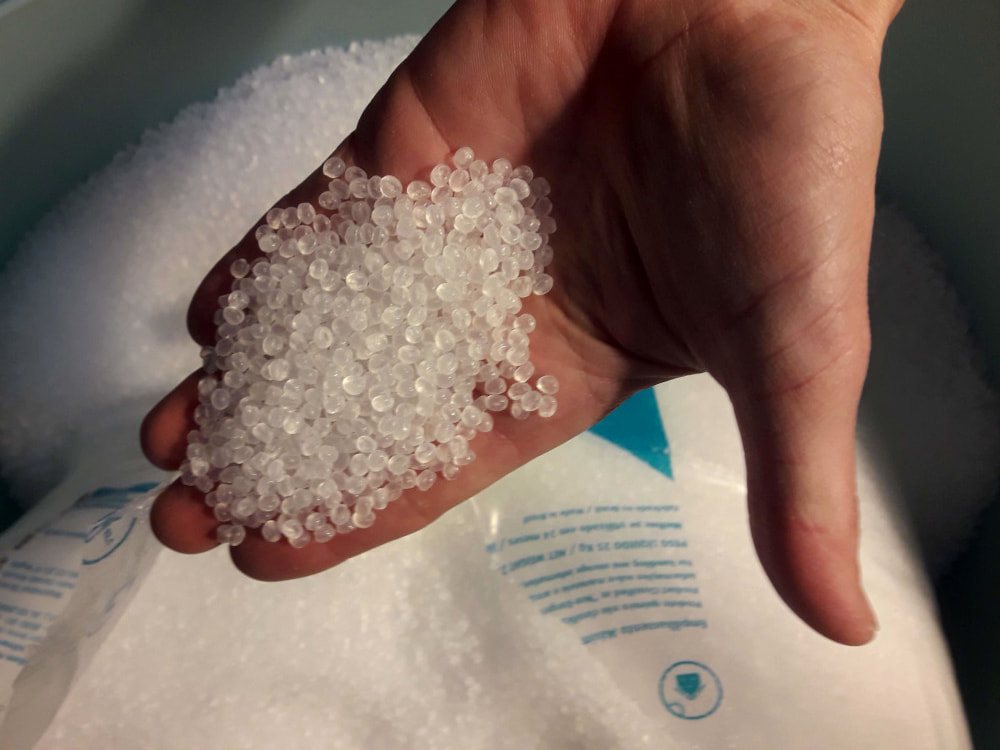
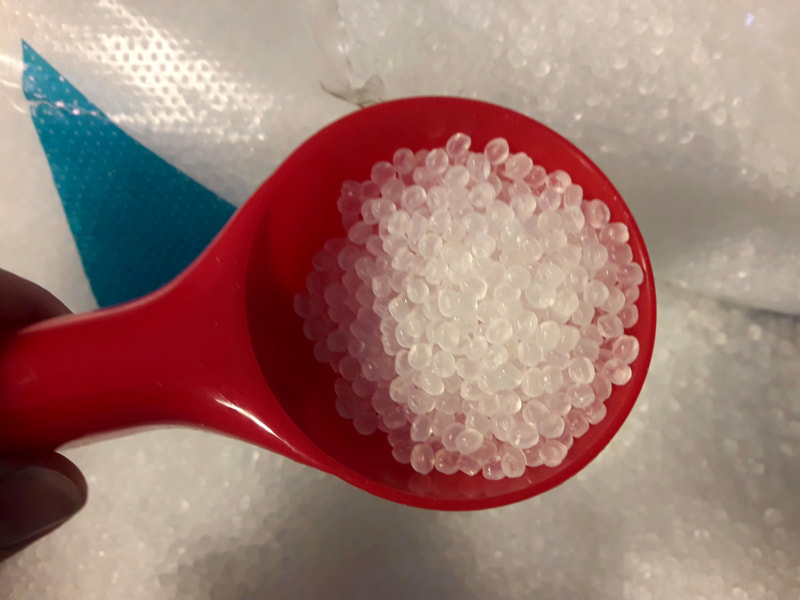
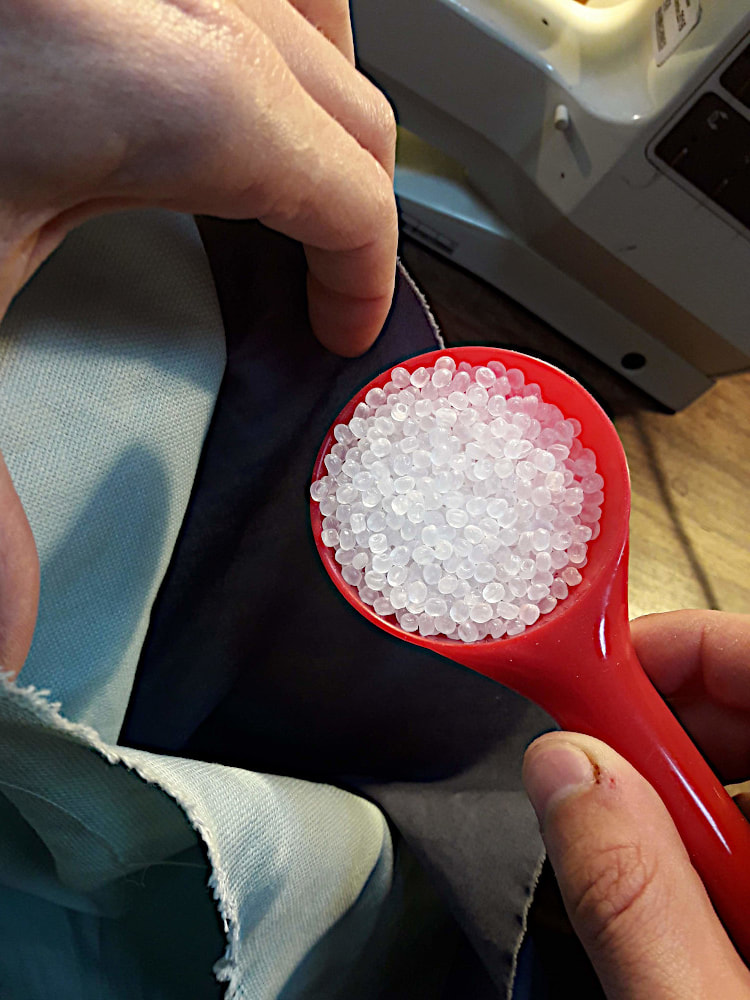
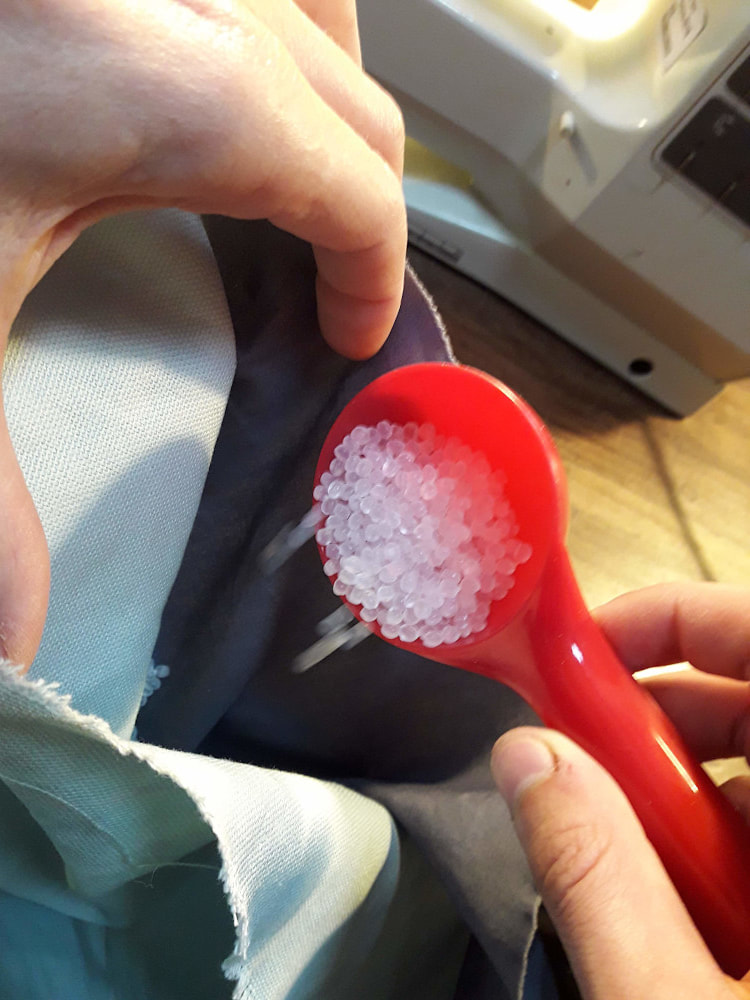
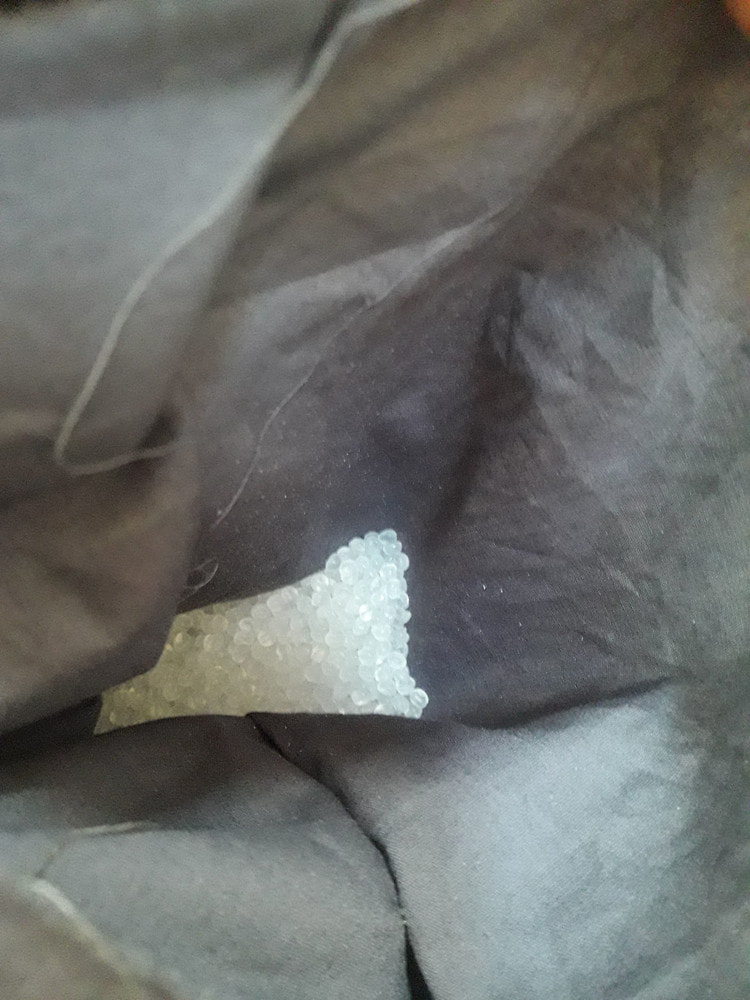
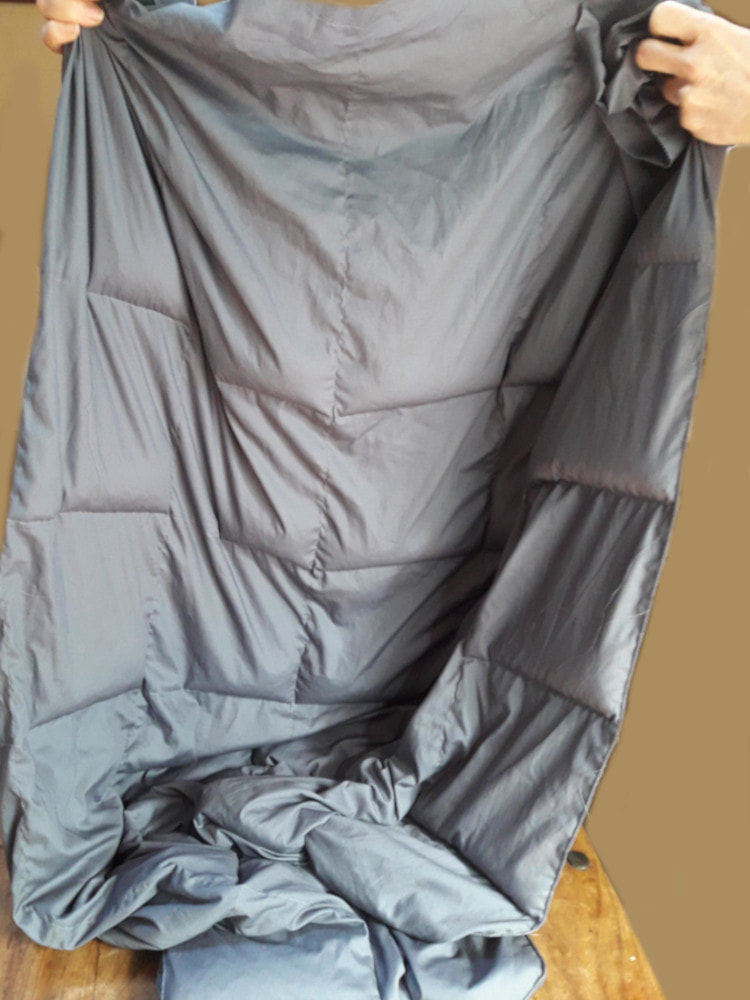
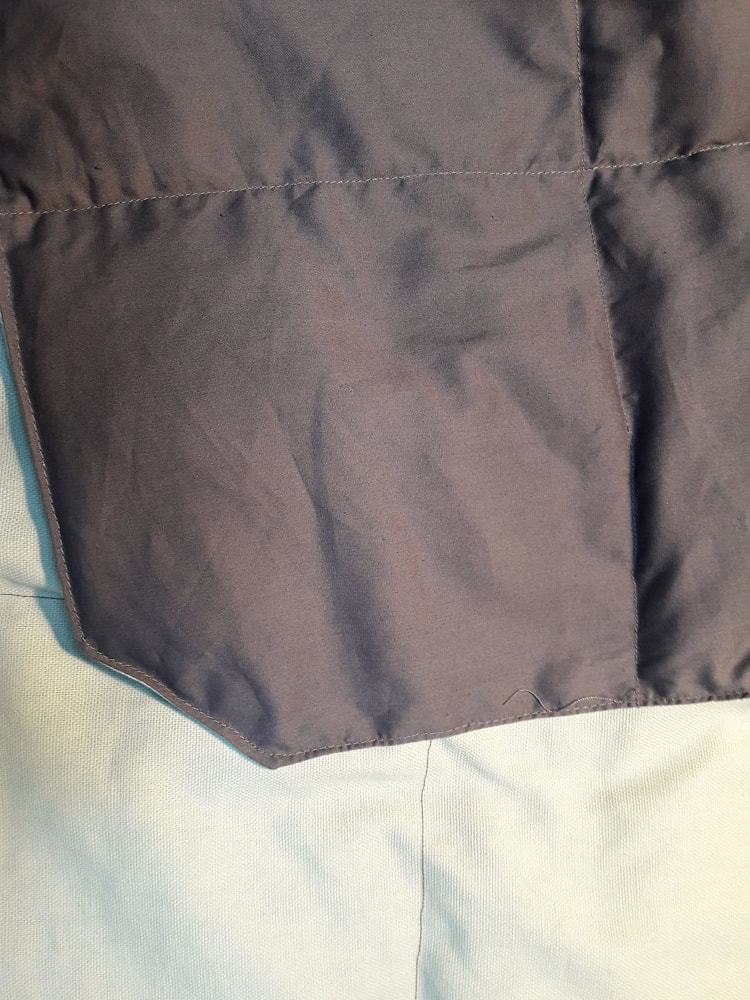
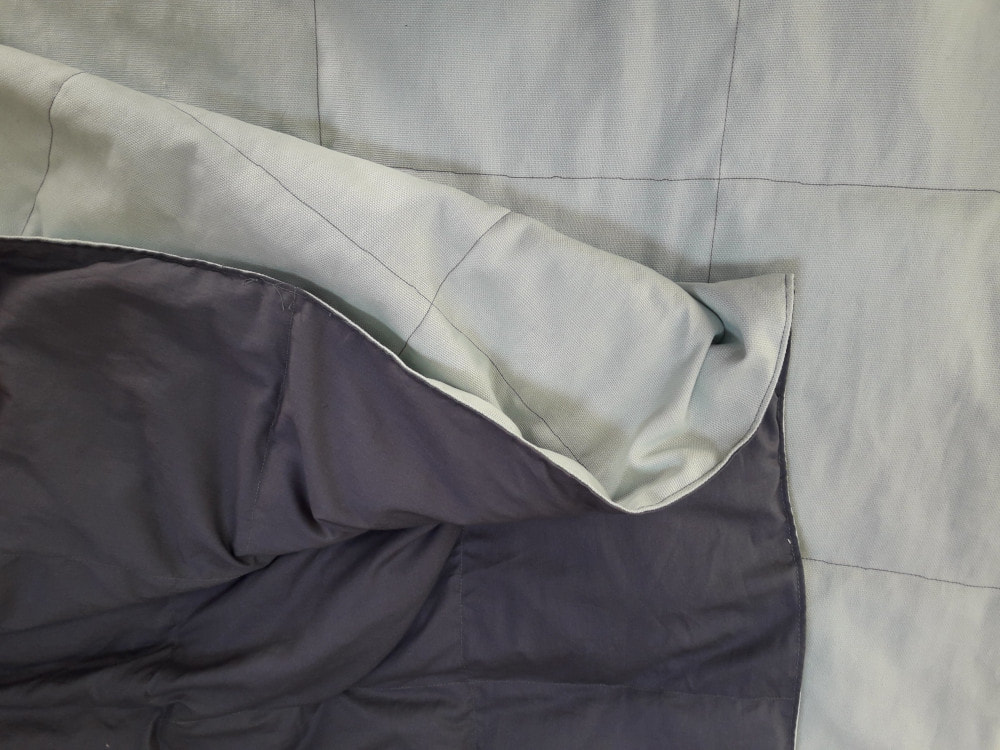
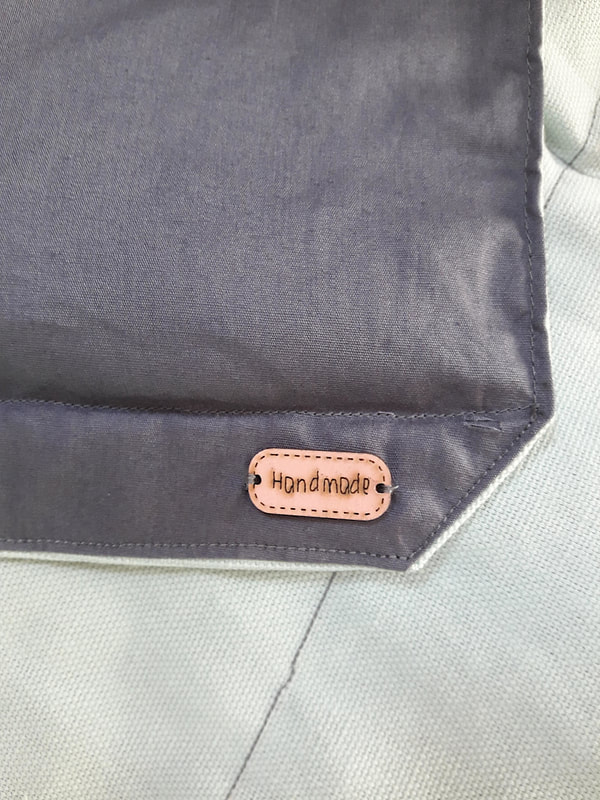
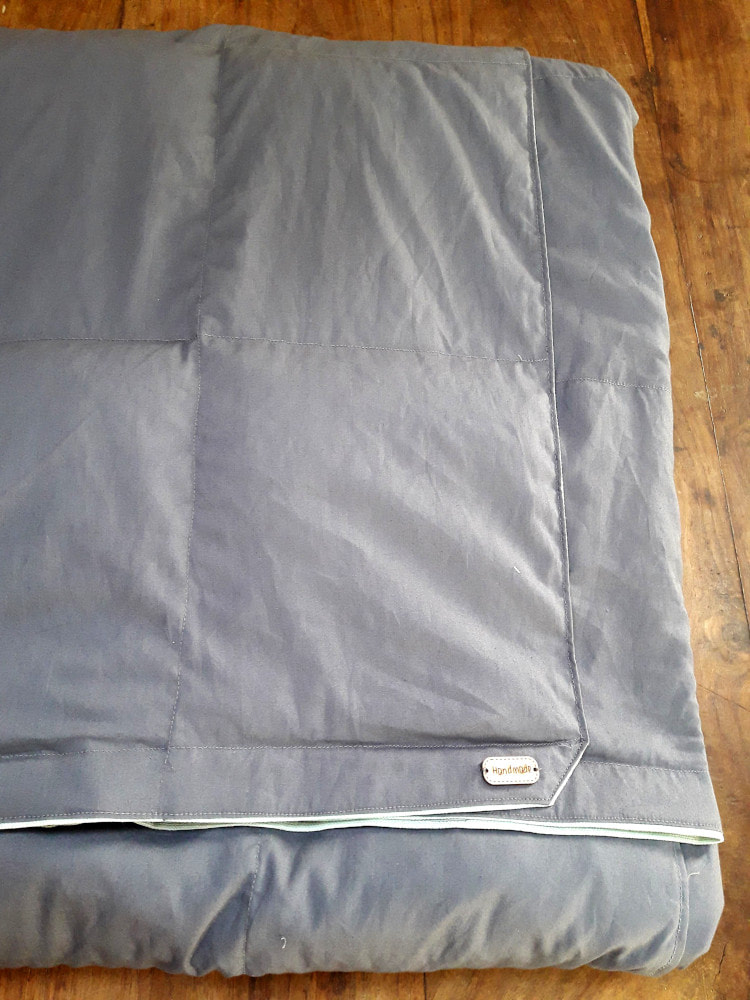
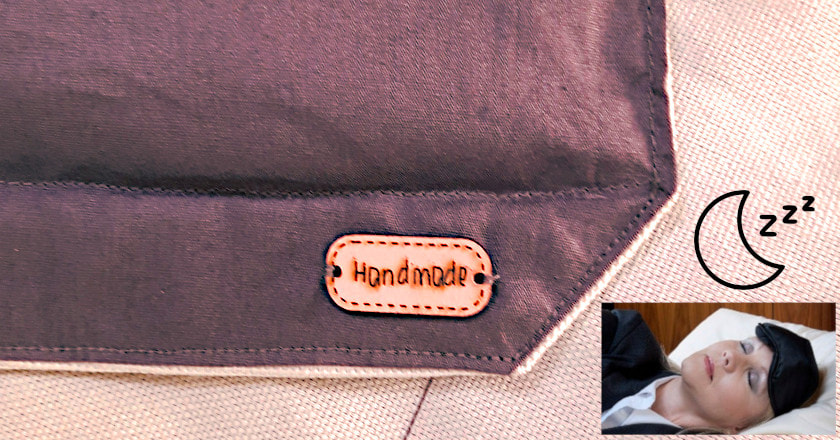
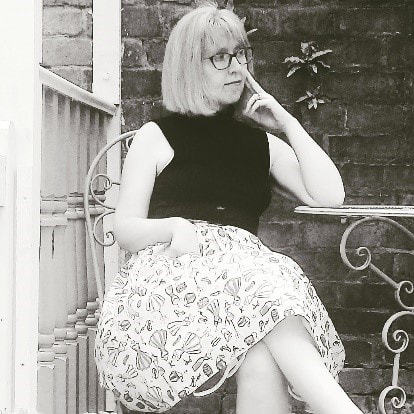
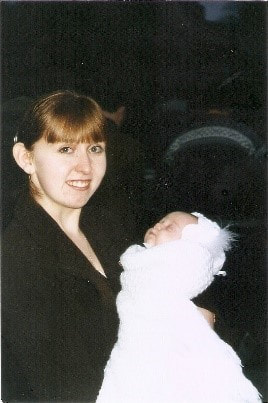
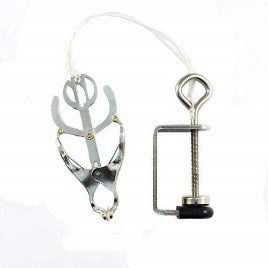
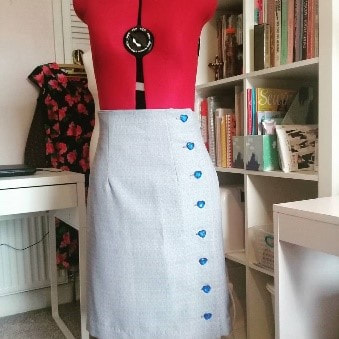
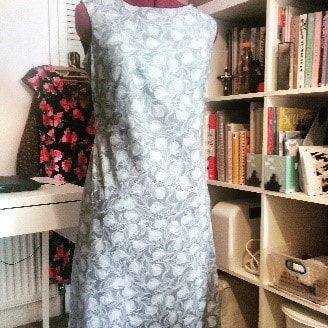
How to sew a weight blanket: You cut (or better: tear) the two pieces of fabric in the right dimensions. Do not make the blanket too large. Then the blanket becomes very heavy and unmanageable. A size measurement of the length of the person and the width of max. 1.25 meters is more than enough. Children's weight blankets are often much smaller. Sew the two pieces together with the good sides together on the length sides and bottom (= three sides), turn over, spread the seams and sew. Leave the top open. Now you can draw 20 cm wide surfaces with textile chalk along the length of the blanket. And in width-lengths. Stitch the lengths of the boxes. After this, you fill the boxes with two and a half or three scoops of granulates to the maximum. (Depending on whether you want a really heavy blanket of around 9 pounds, or a less heavy blanket of around 5 pounds). You now take the blanket with your hands on top and shake the blanket well. The pellets are now in the compartments below. After this, carefully sew the strip across the width. Be careful not to cross a grain with the sewing machine. This is not that healthy for the needle ... Sew all this with the fabric on the left side of the sewing machine and on a large table. It is very nice if the sewing machine has an extra seat or quilt table. Repeat this process until you reach the top row. It is becoming increasingly difficult because the blanket is now heavy and it can be difficult with the grains. But being patient is a good thing. Work neatly and slowly, this prevents frustration and a home or sewingroom full of granules ... Finally, close the top with a beautiful decorative edge or fold inwards. You can also leave a flap of fabric on if you would like to be able to tuck the blanket between the mattress on the foot sides. Finally, wipe away the remaining textile chalk with a piece of cotton and scrub the blanket well a few times. Making a weighting blanket is not that difficult. It is a sewing project that requires neat work, a lot of patience, space and material. But at least you will sleep like never did before ... My name is Vanessa, I’m 42 and from Derbyshire. Having developed epilepsy at an early age I then suffered a stroke at the age of 10, which has left me with no use of my right hand and limited use of my right leg. I had to learn to read, write (this time left handed) and walk all over again. As time has gone on, I find myself suffering back, hip and knee pain due to the way I walk, therefore I now use a mobility scooter to get around, as I cannot walk too far. I have never let my disability get the better of me and I always endeavour to try new things which will test my abilities and I fell in love with sewing. Sewing one handed is very challenging especially when it comes to sewing by hand where I really need two hands. For this I have the assistance of either my mum or my hubby to hold the material while I sew. I have recently purchased a third hand sewing clamp, but it does not arrive until mid-July. If it helps I will purchase another two or three to have one either-end, and two across the back of my hand sewing table (3rd hand clamp £13.99 from Amazon). There are cheaper ones but I find that cheap usually means poor quality. When it comes to cutting out, I open up my dining table to full size and lay out my pattern first and weigh it down along either side of the cut line. I move the weights around accordingly until the pattern has been cut out. A good sharp pair of sewing scissors are required. I use special left handed scissors, for which my husband is banned from using. I use proper sewing weights that my mum bought me for Christmas, they look like macaroons. I find the more weights the better, with one hand, so I usually use anything I have to hand at the time, such as a teapot, book, I have even used a tin of tuna. Once the pattern has been cut out, I remove it from the table and lay out my material face down (right sides together) and then carefully pin on my pattern cut outs, ensuring the sewing pattern pieces face the same direction on the material sewing pattern. My room is laid out with a small table for hand sewing, a dedicated Horn Sewing Machine Table with a Janome insert and a table for my over-locker. I love to try new techniques and work out how to do them with one hand. I have so far made 7 dresses, 4 skirts, 3 tops, a cardigan and a pair of pyjama bottoms for my husband. Some of my dresses were done using vintage designs, as I love the styles of the 1940’s and 1950’s. For my next project I’m going to make a blouse. I’m an avid watcher of the sewing bee (would love to meet Patrick Grant) and subscribe to Love Sewing magazine and I often buy and read sewing books. If there are any one handed sewers out there, I would love to hear from you and share techniques for getting over those obstacles, two handed sewers find easy. (Vanessa Lavery@lefthandmaid) Instagram-account: https://www.instagram.com/lefthandmaid/
|
All about creating your own Chanel-Style jacket, Chanel-lovers information, Historic Costumes, Couture & Sewing book reviews and tutorials.
|
