|
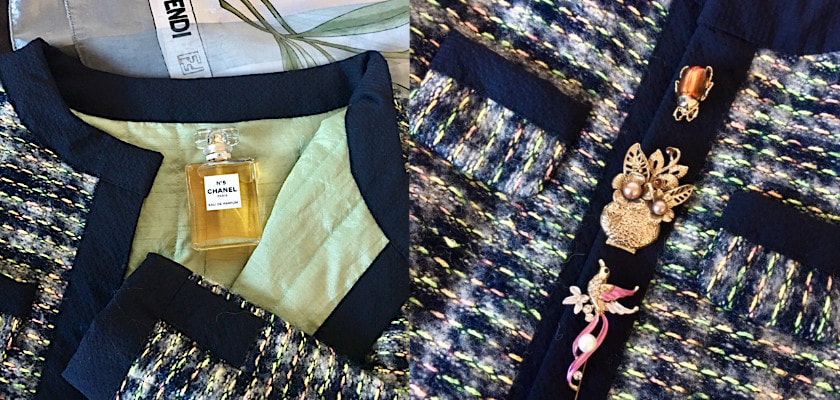
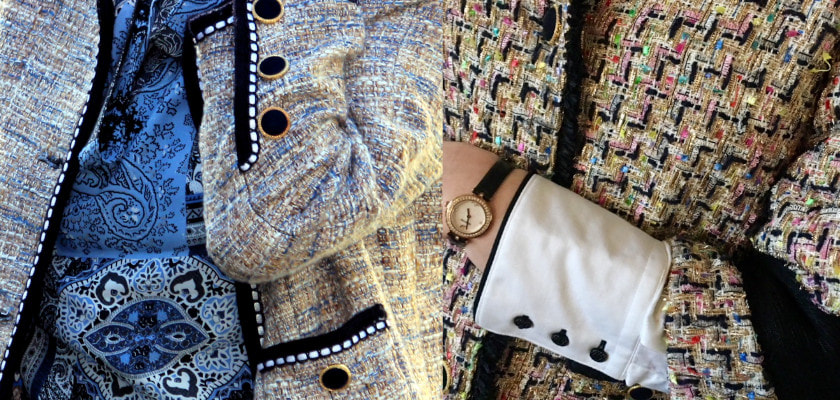
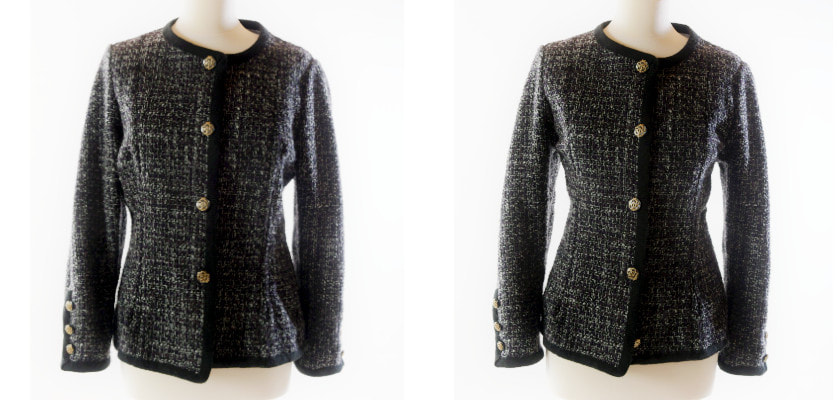
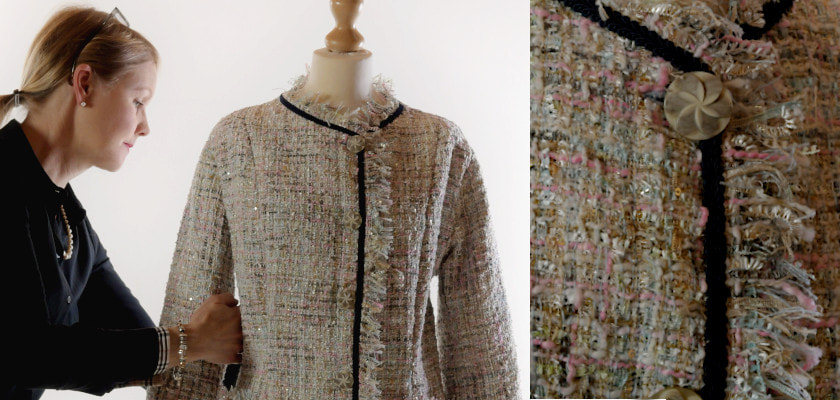
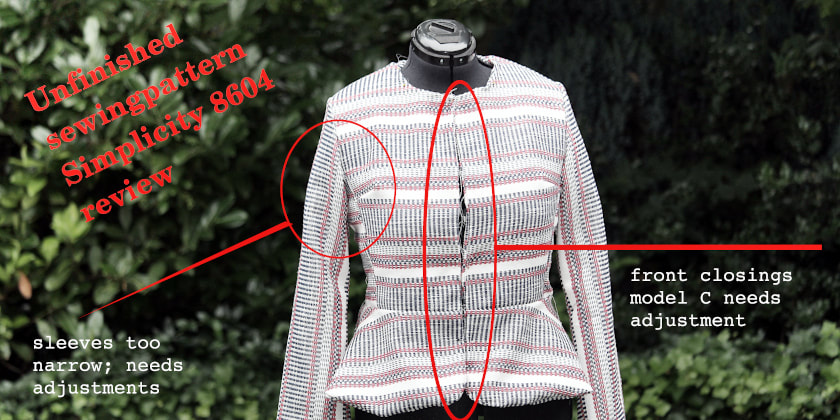
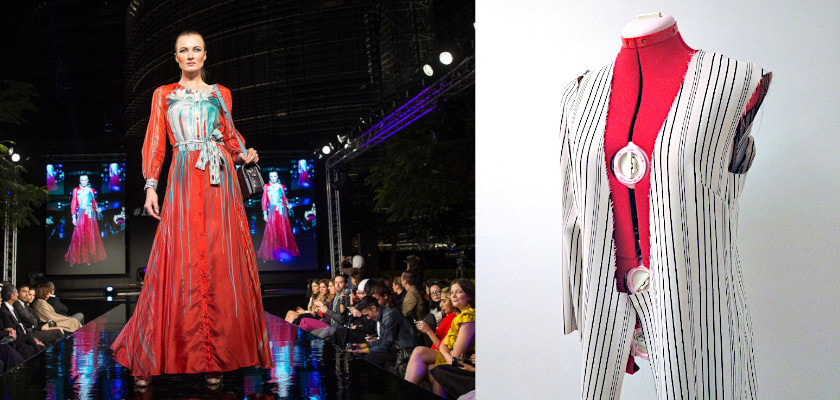
After you have made a garment, you want to show it to the outside world. Taking pictures for your Social Media, maybe for an online store or just for yourself. But how do you photograph your clothes in the best way? Many ways are passing by on the Internet. We have some give tips and tricks for you! Flat lay pictures: Flat-lay pictures are photos of clothing or products which are lying flat on a table or on the floor. You will look up from above. This way of photographing clothes has great advantages because you can arrange the clothes exactly as you want. Various tutorials can be found on YouTube on how to do this best. A disadvantage is the fact you do not see the clothes 'dressed'. It does not give a clear picture of the shape and as a viewer you may have to imagine how it will look in real life. The clothing is probably arranged in a way: making the sleeves appear narrower, creating a waist that is not there or making the entire garment look better than it actually is. One of the reasons for taking flat-lay pictures is often the fact people don't want to be shown in the picture, for several reasons. For example because of privacy or because of the size of the garment. This way of presenting is also often popular because the photos are styled and look great. Tip: add items that emphasize the clothing style to the pictures. A chic perfume bottle, a nice cup of coffee or a serious book. Jewelry or accessories. Styling the clothes in this way makes the photo more attractive for the viewers. Detail photos: Detail photos are ideal to show if the garment has really specific or intricate details. This is especially important for seamstresses. Examples: sleeve ends, collars, slits or interesting buttons and pleats. Of course, the photos do not show the entire garment, but they are interesting to show to the outside world. 'The devil is in the detail' Mannequins: Mannequin-photos are pictures taken by using the sewing mannequin or a shop window mannequin. That sounds easier than it is. It is not easy to make a good mannequin-photo. See photo above: the mannequin is not the right size and because of this, the jacket hangs limply on all sides and the jacket looks plump. A sewing doll has to be a bit correct in size. You can adjust most sewing mannequins yourself, but a shop window mannequin often only has one size. On clothing websites, the clothes are often pinned and deformed until it fits nicely on the mannequin. That makes sense (see photo above) but not really the goal for a seamstress. After all, you want to show how the jacket turned out and without 'shaping' it for the photo. Tips:
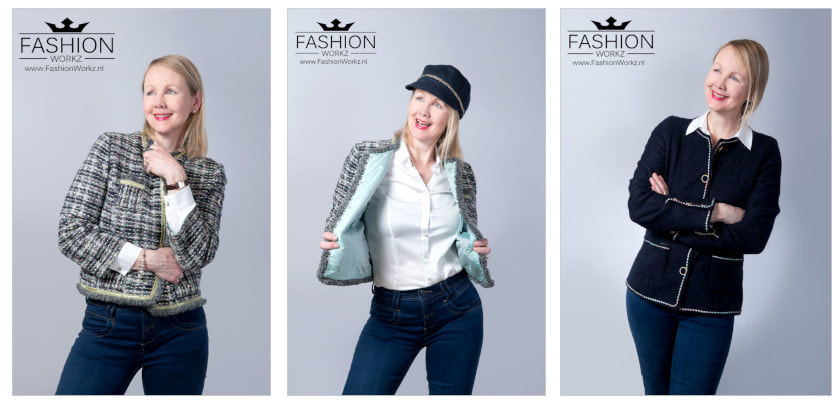
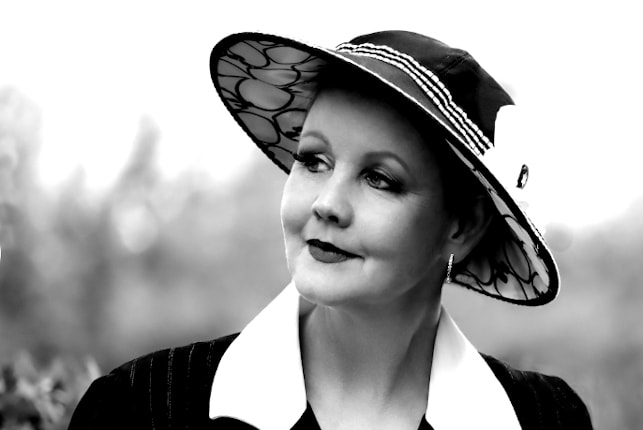
If the details are invisible: zoom in and take extra photos! And of course: make sure you have a mannequin that is correct in terms of dimensions/sizes. Clothing presentation on a real person: If you prefer not to choose a sewing of shop window mannequin but want to show the clothing yourself (or on another), make sure you look your best. Ask the amateur photographer to take the photos from a favorable angle; at a distance, not too close and preferably at sitting height. In this way it will not look like you are having tiny legs and the clothes will look better in proportion. You can still crop in height or width. Take several photos and move around slowly. You can later choose the most favorable photo on which the clothes are the best (and you!) Complicated poses such as professional models often are doing is not necessary and might look a little bit 'over-done'. A professional photo shoot: You might consider to book a professional photographer for a photoshoot and make an appointment in his studio. If you have a budget for it and a lot of clothes ready for the photoshoot! The big advantage is the result: professional pictures and your website will upgrade in terms of appearance. You don't have to be a professional model. A good photographer will give clear instructions and there is often a mirror in the studio so that you can see how your pose and the clothes at its best! Tips:
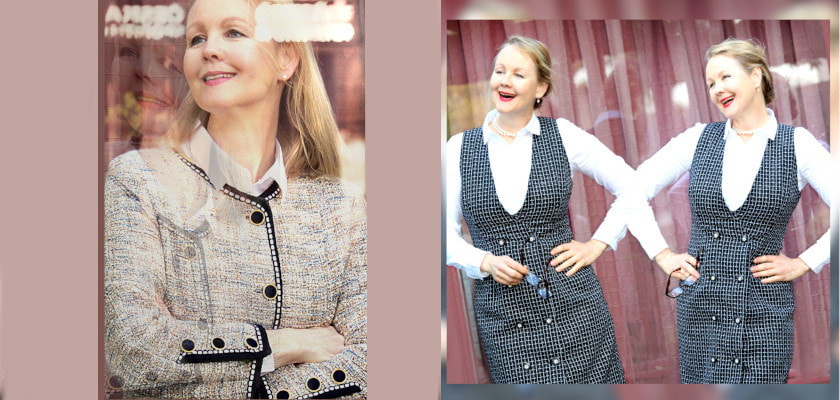
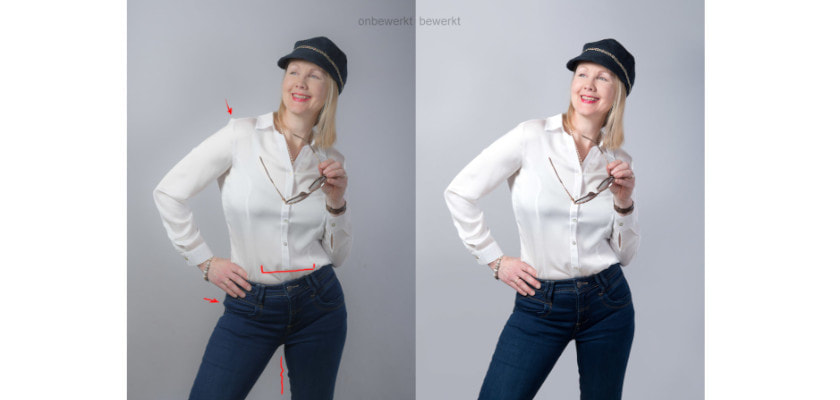
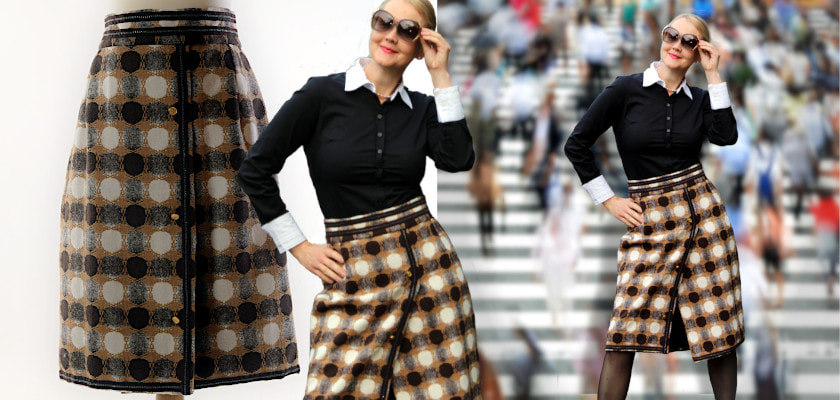
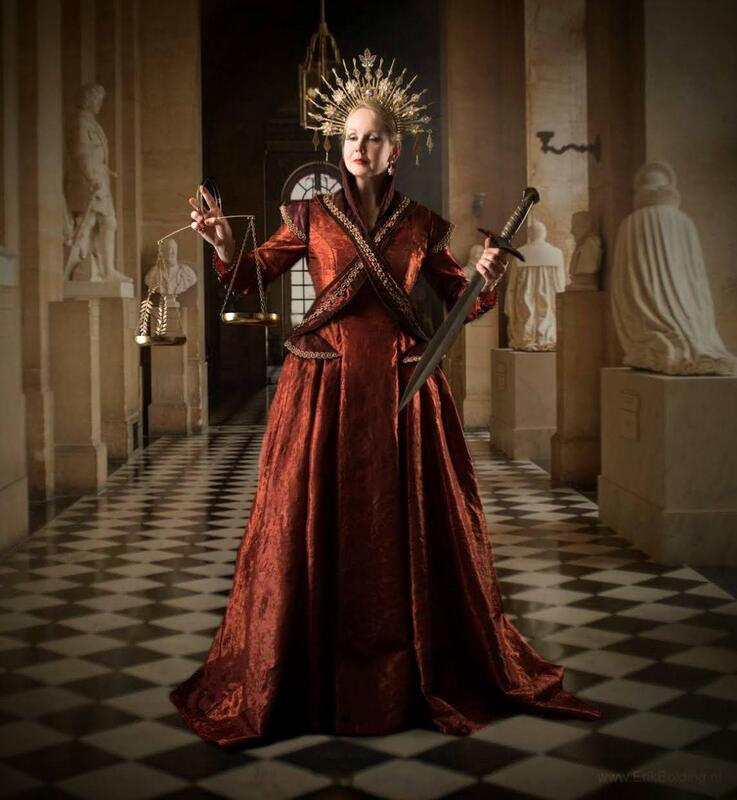
Professional photos are always edited. This does not mean that they will suddenly look unreal or artificial. As photo above: it is often mainly the light and contrast edited to make the photo look better. In addition, some details of the clothes may be edited too. Photo manipulations: Sometimes photos are edited in such a way that the background is replaced by a suitable background or a background that gives the photo extra allure. You can do this yourself with photo editing programs such as Photoshop or Gimp. There are plenty of tutorials on YouTube and if you study them, you will get skills to change photos yourself. An other advantage: you will be able to partially manipulate photos if, for example, you want to eliminate disturbing elements in the photo or add texts. Summarized:
Presenting and photographing your self made clothing is quite a job. Everyone likes to do it in his or her own way and often makes a conscious choice. Presenting self made clothes doesn't have to look super professional and no one expects it to look like a catwalk. Going to a professional photographer offers many benefits and is often well worth the money. But if this does not fit within your budget and objective, it is not a disaster. Seamstresses prefer to see each other's sewing process, the difficulties of the sewing project and the results. Whether you choose flat-lay pictures, presentation on a sewing mannequin, photos taken by your partner or by a professional photographer, be proud of all your work! Comments are closed.
|
All about creating your own Chanel-Style jacket, Chanel-lovers information, Historic Costumes, Couture & Sewing book reviews and tutorials.
|
