Technical information:
Characteristics:
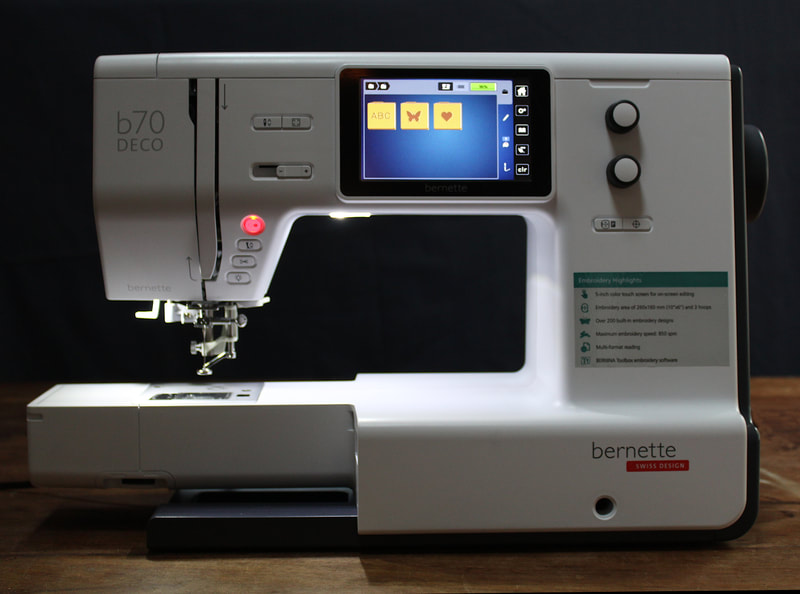
Description: Bernina Bernette Embroidery machine B 70, Affordable Bernina embroidery machine with color touch screen
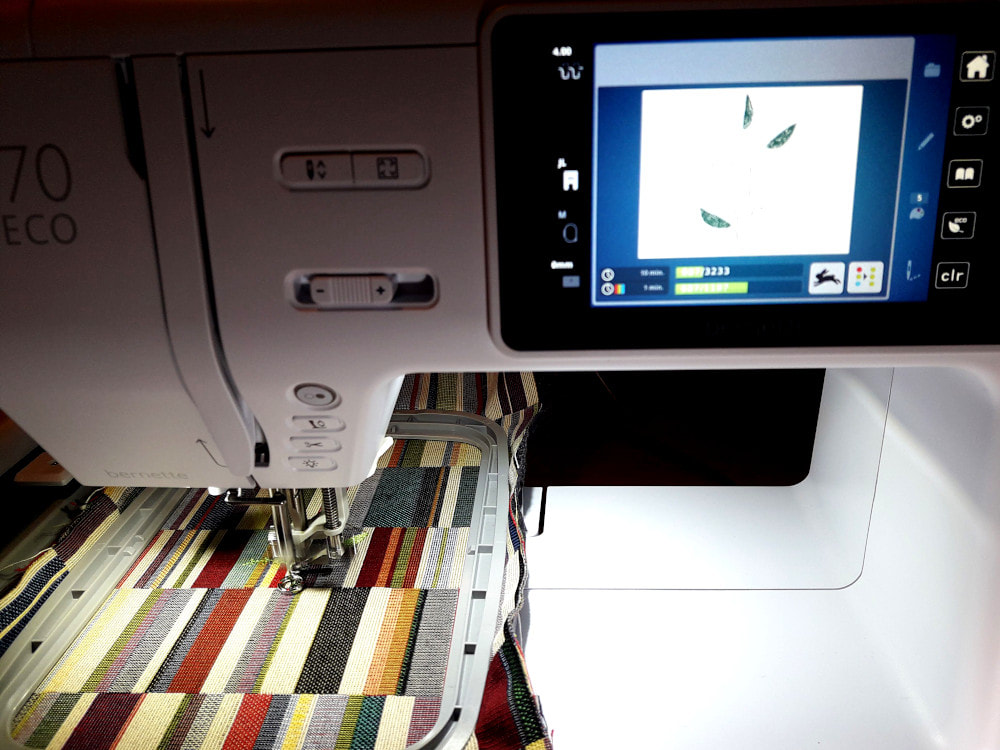
Easy to use with touchscreen and multi-function knobs. Find the right embroidery design, edit and position it via drag & drop by using the 5-inch color touch screen, which is optimally positioned in the center of the machine. Finetune the size and position of your embroidery motif via the multi-function knobs. Access the embroidery tutorials for tips on how to operate your machine and embroidery module.
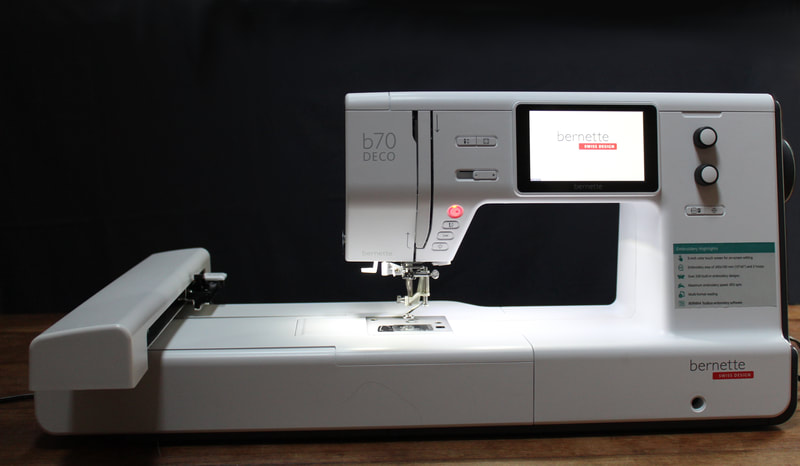
Embroidery module with three different sized hoops and hoop detection. With three hoops included, it is easy to find the right hoop for each size of your embroidery designs. You can embroider motifs with up to 260 x 160 mm without re-hooping. The hoops are easy to open and close with a quick release system. The automatic hoop detection ensures that you see the defined embroidery area of each hoop on the touch screen, so you can optimally adapt your embroidery design.
Creative possibilities with embroidery designs. With 208 embroidery designs and 7 embroidery alphabets installed, a wide selection of motifs is at your fingertips. The motifs can be edited on the touch screen, so you can easily rotate, flip, or combine design elements.
Want something truly yours? Upload your own embroidery motifs or motifs you edited and combined in your BERNINA Toolbox software via USB flash drive. The B70 DECO is compatible with most embroidery design formats – no need to convert files in a software program anymore.
BERNINA Toolbox, the easy-to-use embroidery software. Go creative with the Lettering and Editing modules and 300 additional embroidery designs and 100 additional fonts included. Each module has a large selection of embroidery motifs to download from the BERNINA Cloud.
You can even edit the embroidery motifs directly in the cloud, using your tablet or laptop.
Convenient upper and lower thread sensors. The upper or lower thread sensors ensure that your machine immediately stops to embroider, when one of your bobbins runs empty. You can continue embroidering your motif seamlessly as soon as the bobbin is filled up again.
Adjusting the presser foot pressure and thread tension to suit the material. When embroidering, the right thread tension is essential. For some materials, such as lightweight or thin fabrics, it's good to individually adjust the presser foot pressure and the thread tension. Your Bernette B70 DECO offers these practical features. Voluminous projects can be challenging, but with the included hopper embroidery foot the stitches turn out beautifully.
Accessories:
- Motor DC = Electronic engine control
- Level Advanced-Intermediate
- Stitch overview
- + 100 Characteristics
- Computerized Alphabet stitches
- Automatic Needle threader
- embroidery function
- Watt - Wattage 100 Watt
Description: Bernina Bernette Embroidery machine B 70, Affordable Bernina embroidery machine with color touch screen
Easy to use with touchscreen and multi-function knobs. Find the right embroidery design, edit and position it via drag & drop by using the 5-inch color touch screen, which is optimally positioned in the center of the machine. Finetune the size and position of your embroidery motif via the multi-function knobs. Access the embroidery tutorials for tips on how to operate your machine and embroidery module.
Embroidery module with three different sized hoops and hoop detection. With three hoops included, it is easy to find the right hoop for each size of your embroidery designs. You can embroider motifs with up to 260 x 160 mm without re-hooping. The hoops are easy to open and close with a quick release system. The automatic hoop detection ensures that you see the defined embroidery area of each hoop on the touch screen, so you can optimally adapt your embroidery design.
Creative possibilities with embroidery designs. With 208 embroidery designs and 7 embroidery alphabets installed, a wide selection of motifs is at your fingertips. The motifs can be edited on the touch screen, so you can easily rotate, flip, or combine design elements.
Want something truly yours? Upload your own embroidery motifs or motifs you edited and combined in your BERNINA Toolbox software via USB flash drive. The B70 DECO is compatible with most embroidery design formats – no need to convert files in a software program anymore.
BERNINA Toolbox, the easy-to-use embroidery software. Go creative with the Lettering and Editing modules and 300 additional embroidery designs and 100 additional fonts included. Each module has a large selection of embroidery motifs to download from the BERNINA Cloud.
You can even edit the embroidery motifs directly in the cloud, using your tablet or laptop.
Convenient upper and lower thread sensors. The upper or lower thread sensors ensure that your machine immediately stops to embroider, when one of your bobbins runs empty. You can continue embroidering your motif seamlessly as soon as the bobbin is filled up again.
Adjusting the presser foot pressure and thread tension to suit the material. When embroidering, the right thread tension is essential. For some materials, such as lightweight or thin fabrics, it's good to individually adjust the presser foot pressure and the thread tension. Your Bernette B70 DECO offers these practical features. Voluminous projects can be challenging, but with the included hopper embroidery foot the stitches turn out beautifully.
Accessories:
- Bobbin (3x)
- Spool net
- Brush/ Seam ripper
- Spool disc large
- Spool disc middle (1x)
- Spool disc small (2x)
- Screwdriver
- Dust cover
- Lubricator
- Second spool pin
- Selection of needles
- Power cable
- Felt disc
Our review:
De Bernette 70 Deco is a beautiful embroiderymachine.
We are allowed to test the embroiderymachine and we do it with a lot of fun.
Package and first impression:
The sewing machine is supplied in a large, heavy box. The box also contains all the accessories and extra accessories that are needed for embroidery. The embroiderymachine looks breathtaking beautiful and modern. Swiss top quality!
With the embroiderytable attached, the embroidery machine is larger than an average sewingmachine. Yet it is not too bad in terms of dimensions and the embroiderymachine fits perfectly on a regular table. Compared to a professional embroiderymachine, it is a very compact model.
Let's start!
1. Cover and manual:
The cover is a plastic cover. Great to use, but not that beautiful. Time to sew a cover, because this embroiderymachine deserves a very nice cover. Make the cover extra large, because when the embroiderytable is attached, the embroiderymachine measures 25 cm longer. Moreover, you do not always slide the embroidery part off. A larger cover is handy for moments when the embroiderymachine is not on duty. We actually expected that it would be delivered, after all, you do not remove the embroiderymodule every time because it is an embroiderymachine and not a combination sewing- and embroiderymachine.
The manual is a nice glossy book of A4 format. The manual is also online as a PDF file. For those who find this more convenient, the PDF file is excellent, well-arranged and very comprehensive.
2. Preparation:
Apart from pushing on the embroiderymodule and operating / adjusting the display, no further preparation is required, as is the case with the combi sewing- and embroiderymachine.
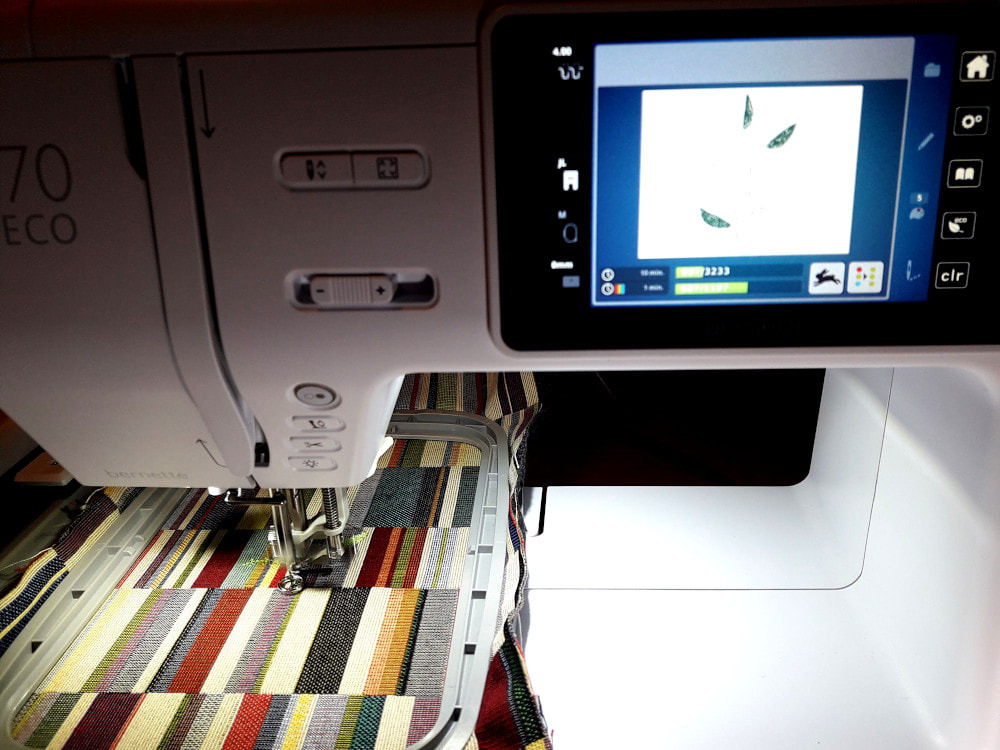
The display is nice and clear for those who are used to working with a display. It takes some time getting used to it for someone who has never worked with a display before. It is best to use the pen and especially to keep the manual beside it. Take your time and do everything step by step. First get to know the embroiderymachine, every step, every possibility. Once you understand how it works is easier than it initially appears. Practice will be rewarding !
3. Threading:
The embroiderymachine has an automatic thread insert. This is really necessary, especially when embroidering when the larger "hope" is in it. (The hope is the hoop in which the fabric is secured). It is difficult to reach the needle and this is an action that will often be done, especially if you us an embroiderypattern with many colors. Threading the upper thread is easy. The bobbin thread has an automatic bobbin thread cutter. Very easy and saves a lot of extra thread on the sewing table or in the embroideryplate.
4. Embroidery:
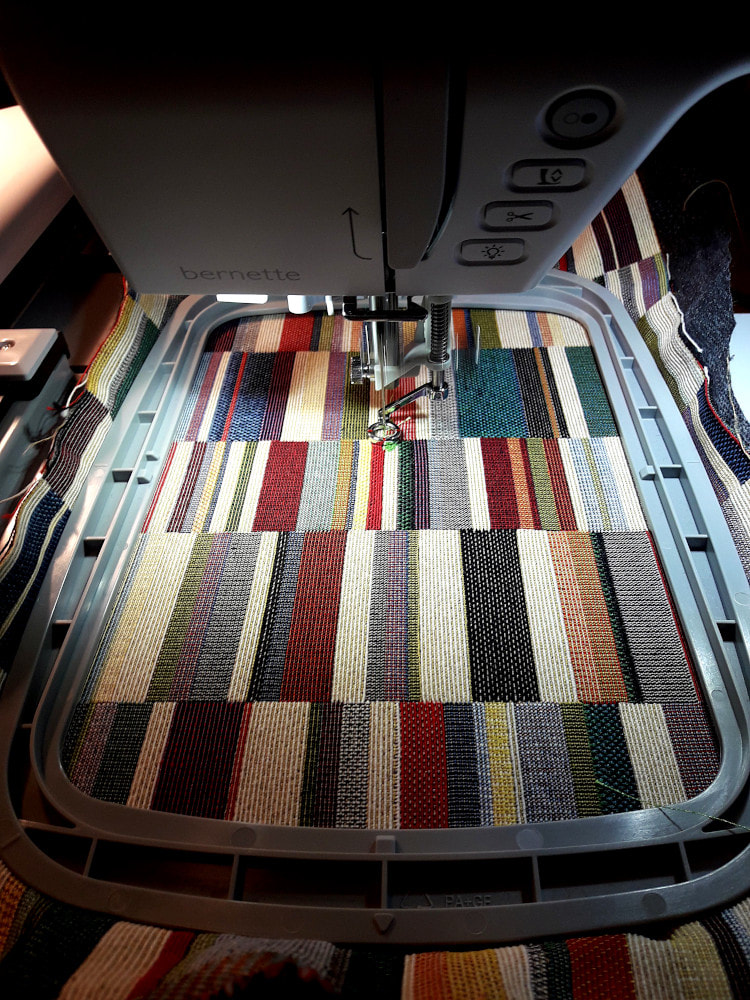
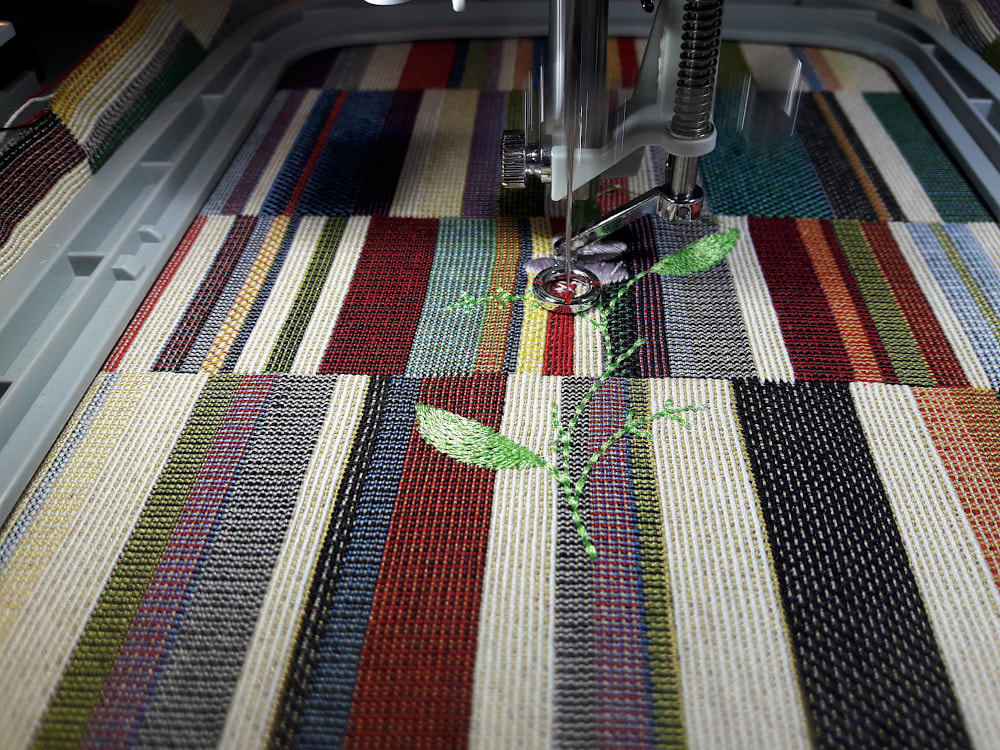
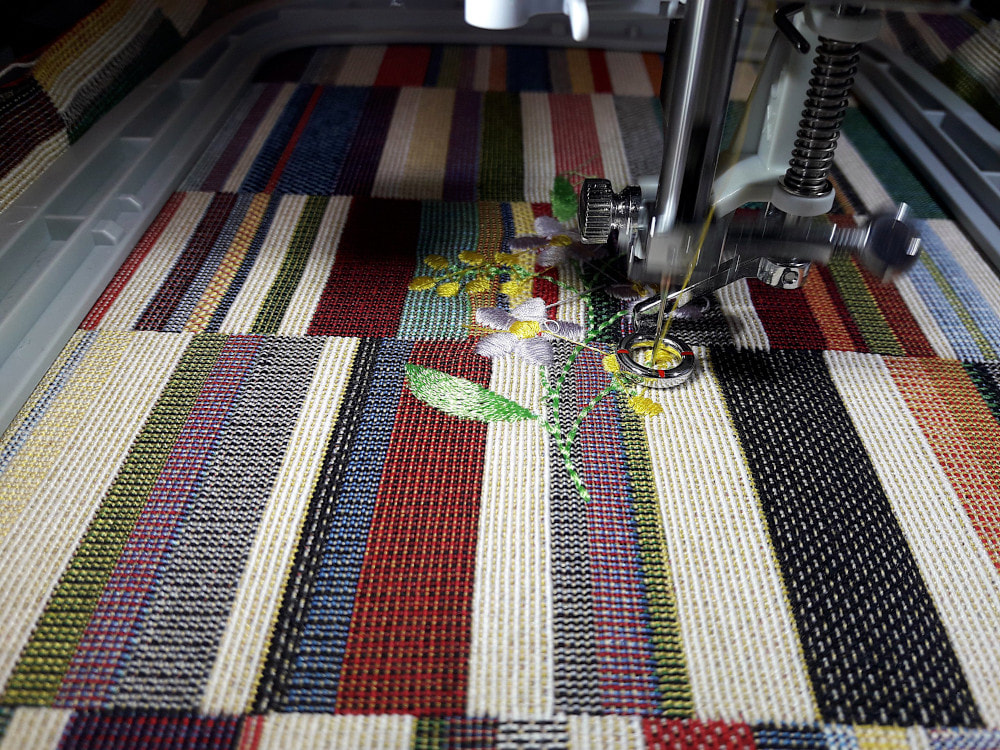
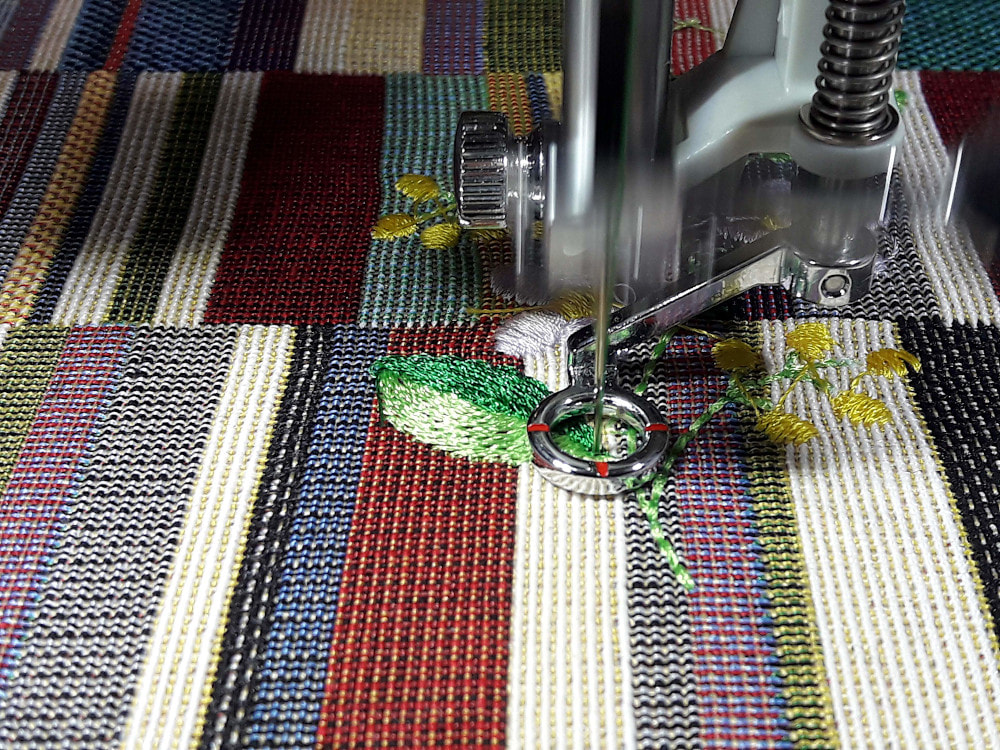
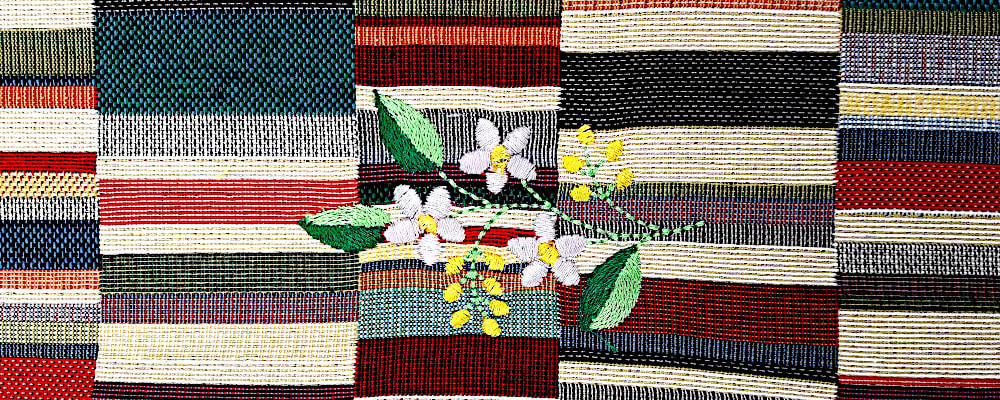
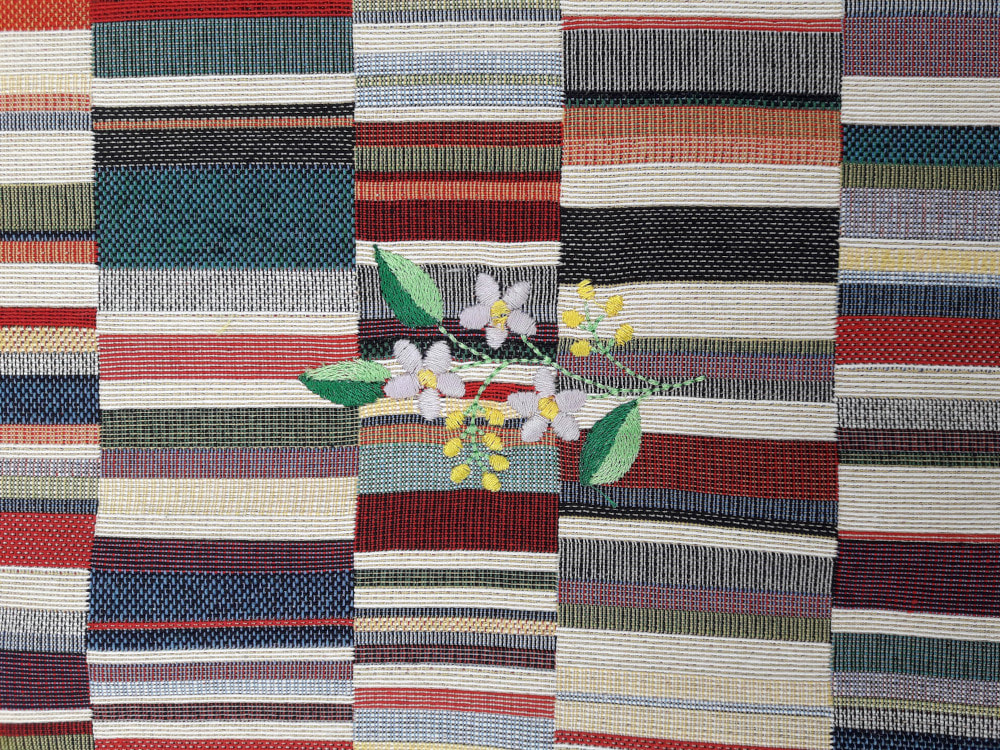
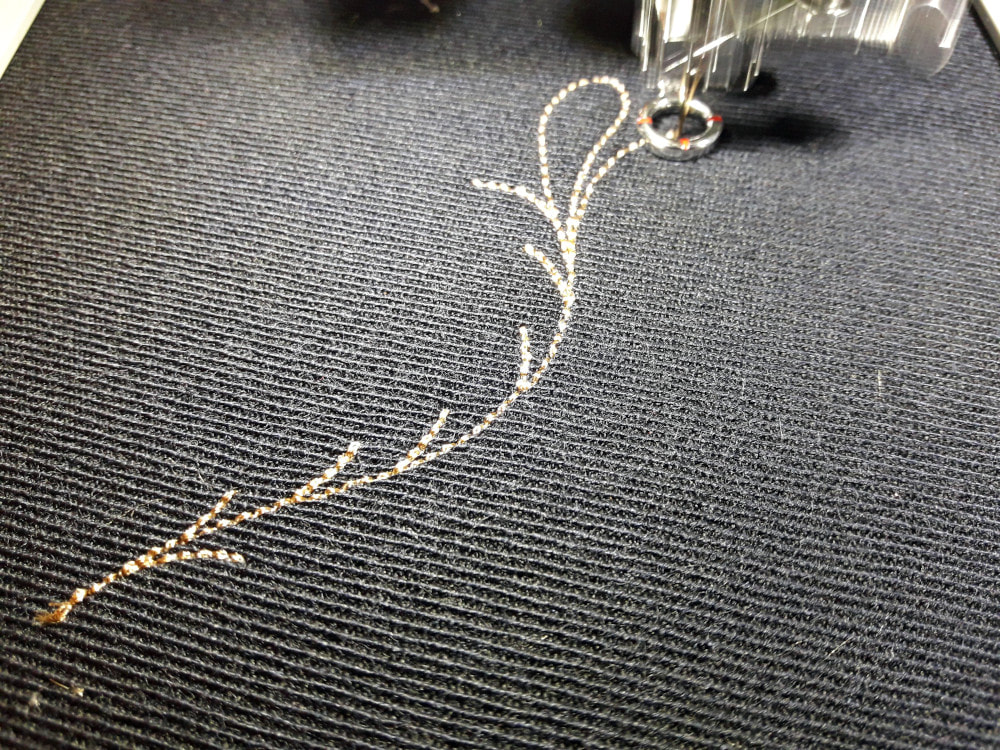
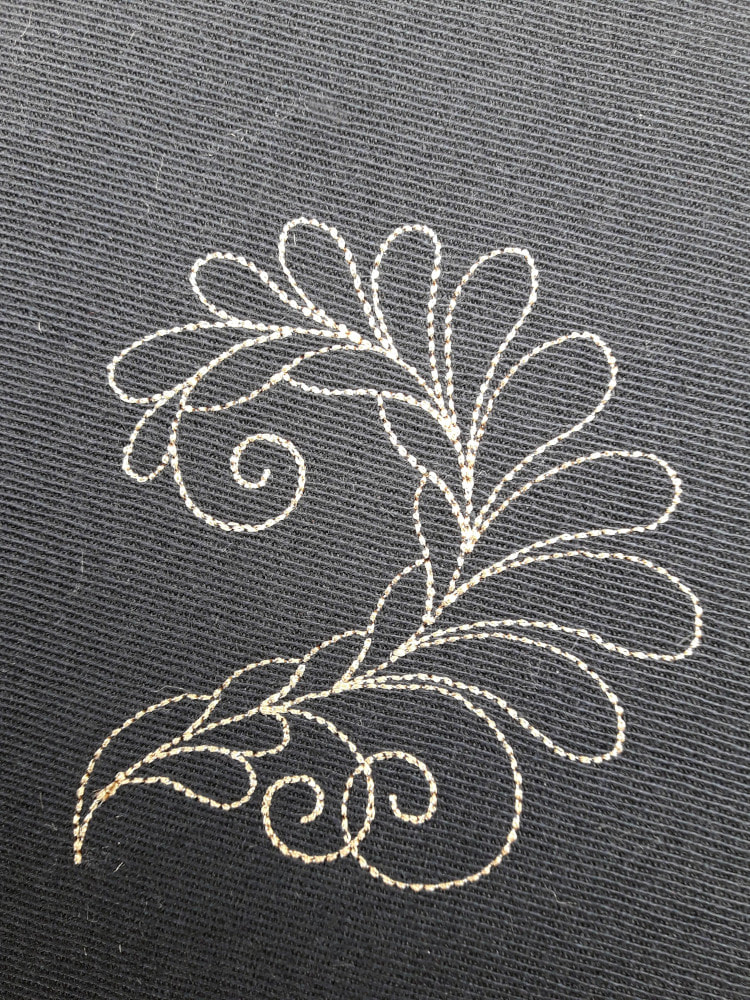
And now to get started with embroidery. Perhaps most seamstresses have never done this mechanically, although the handling of needle and thread is already known. Embroidery goes smooth and excellent. The sewingmachine makes a normal noise. Not soft, but not loud either. The sound of embroidery is nice to hear. We are working! Something beautiful arises! Choose the right fabric and make sure it is properly reinforced. Not all fabric is suitable for embroidering and starting, with easy fabrics such as 100% cotton, garbadine, texture without stretch / elasticity.
We strongly recommend that you FIRST view the videos, read the manual and all tips! This prevents a lot of question marks and loss of time.
https://en.matri.eu/embroidery-machines/embroiderymachine-bernina-bernette-b70
https://www.bernina.com/en-US/Machines-US/Embroidery-Machines
The machine comes with a card with an access code for a number of parts of the Bernina toolbox.
More info and extra accessories: https://www.bernina.com/en-US/Accessories-US/Accessories-search?category=embroidery
YouTube tutorials: down on this page
It is important to report that there is no foot pedal included with the embroiderymachine, which means that you can walk away to get a cup of coffee, while the embroidery machine does a nice job.
However: do not do this too often or too long. The thread can break, the whole process can get stuck, and if that happens it's handy to be there on time. We do not assume that this happens often, but still: just like when cooking in the kitchen: stay with it or stay close by.
Apart from that: most sample patterns for embroidery contain multiple colors. The colors must be changed on time and it is therefore inconvenient to walk away from the sewing machine.
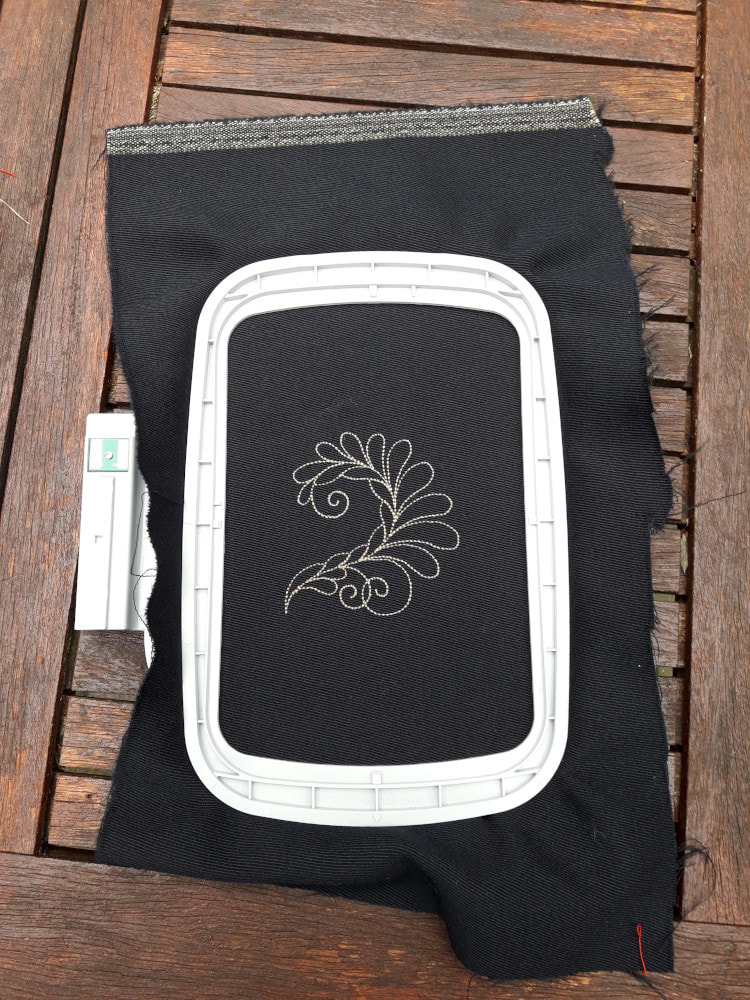
There are three embroidery frames with the embroidery machine. This makes a lot possible in terms of sizes and variation of the embroidery.
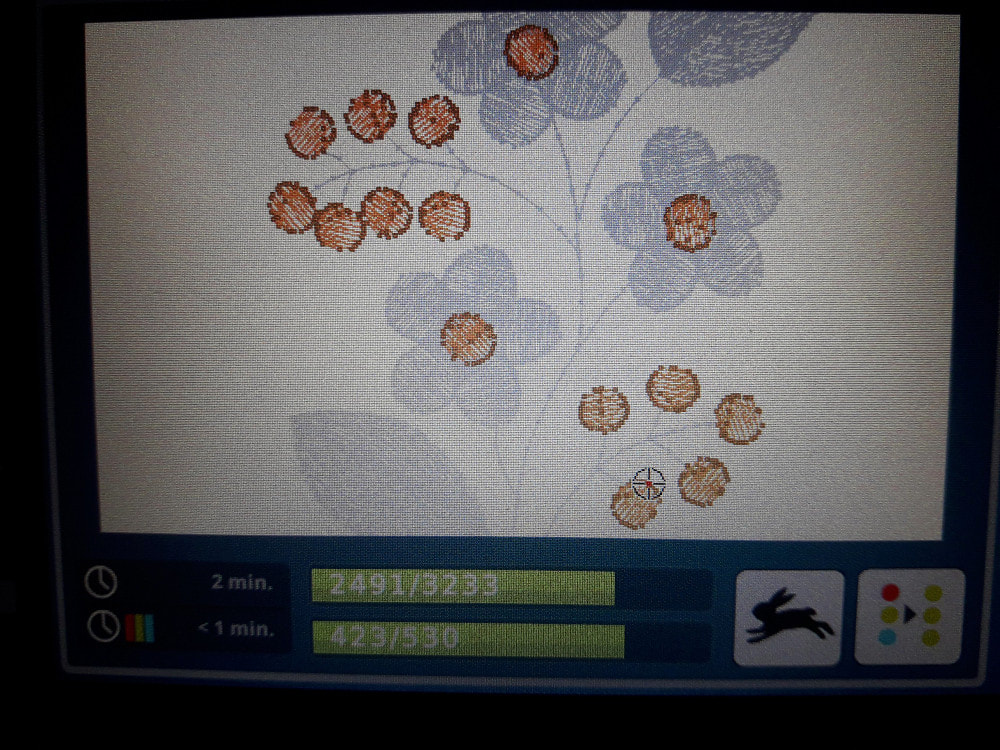
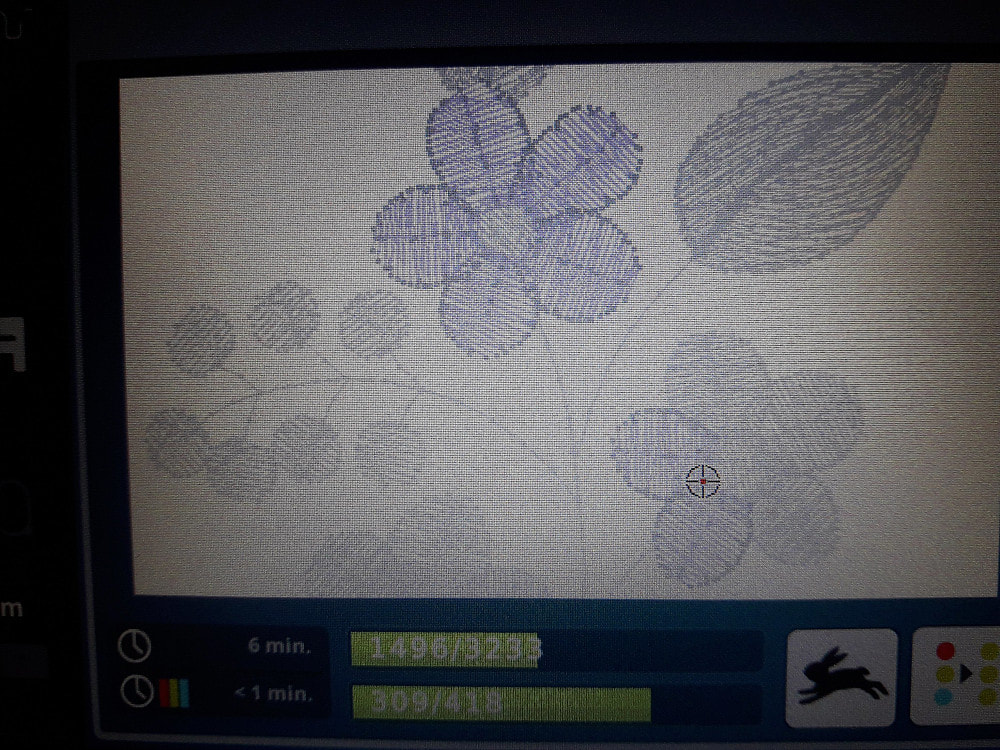
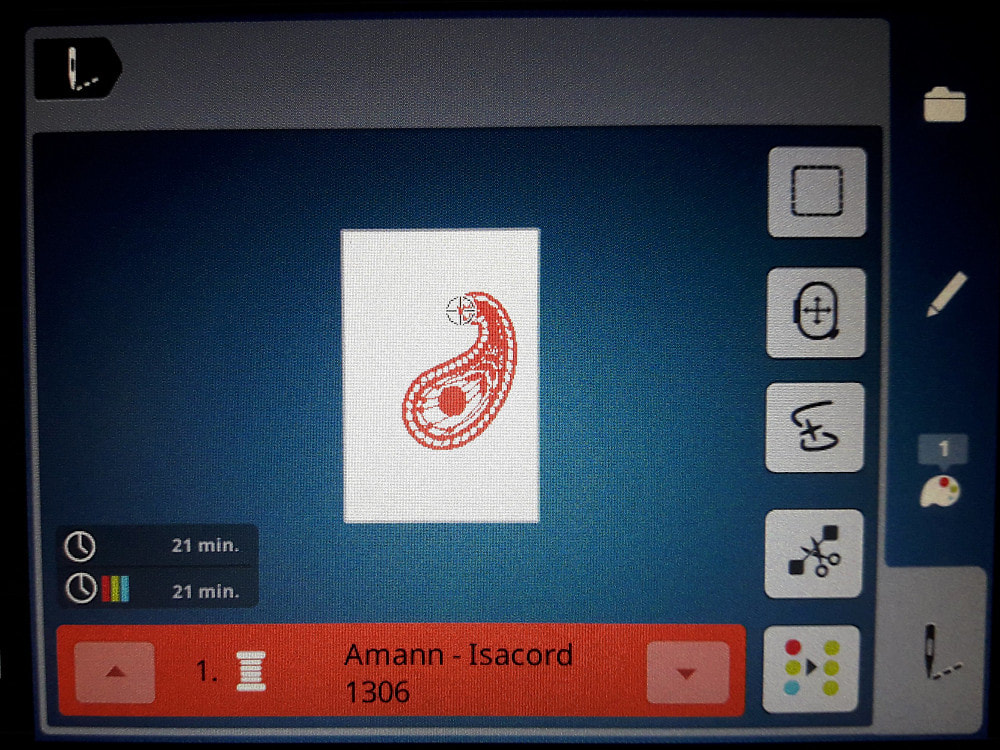
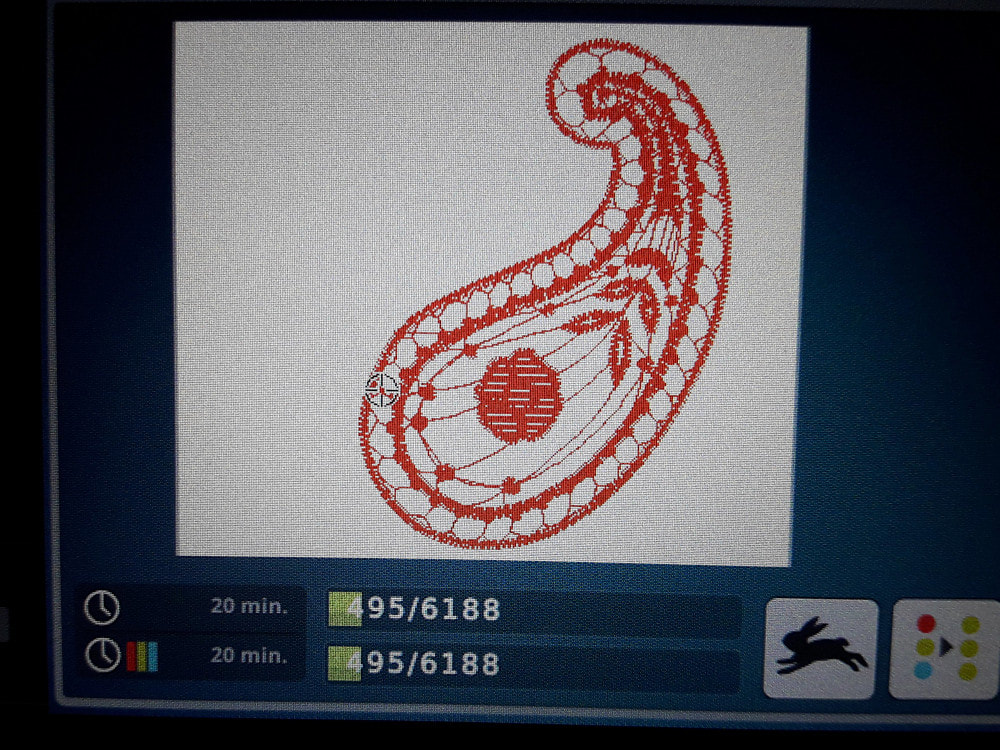
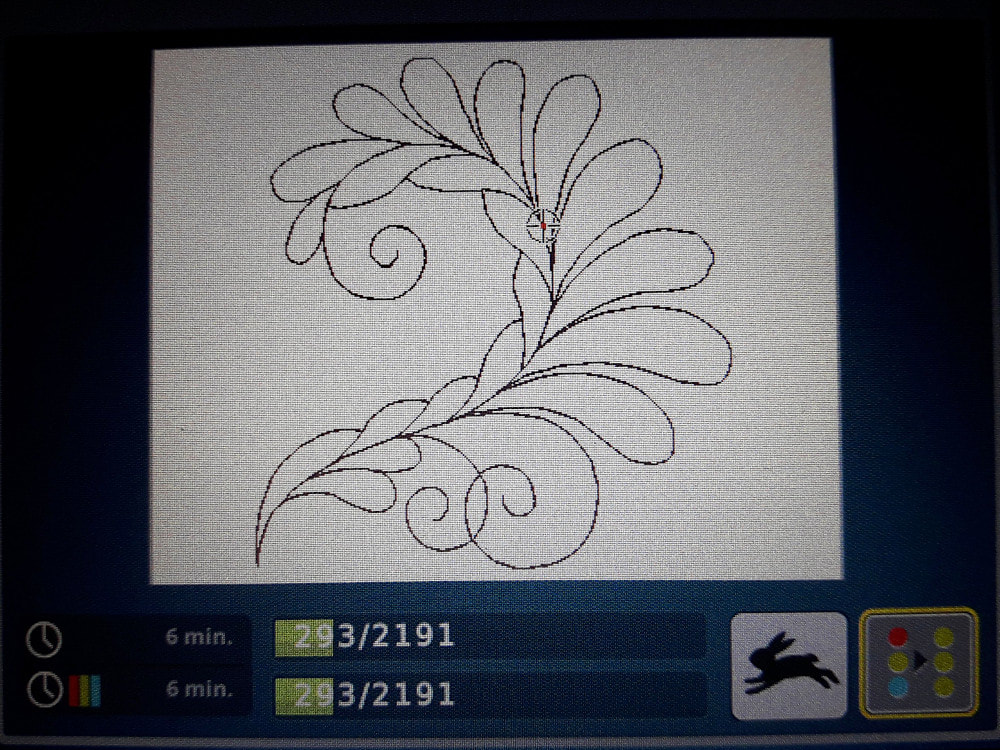
The display clearly shows which embroidery frame is needed and what the dimensions of the embroidery pattern are. Centering, adjusting and changing the embroiderypattern is all possible. This requires some extra attention and the manual nearby!
5. Notes:
Embroidery is going well, but please only use SULKY yarns. Regular yarns are not smooth enough and this can cause problems with embroidery. Prepare all colors in advance. As soon as the thread / color needs to be changed, you can do this without getting confused.
Also make sure that there is always enough bobbin thread on the bobbin so that the entire embroideryprocess can be made in one go.
Always use the correct needles. This is very accurate: with sewingmachine needles that are not specifically intended for embroidery, you will quickly encounter problems such as breaking the needle.
Free workshop:
You will find several sewingprojects on the Bernette website. Why the beautiful blue dress with embroidery on it. Making a dress and embroidering is explained in details through a tutorial.
https://www.bernina.com/en-US/Learn-Create-US
It is wise to start with such a project so that you can clearly see how the correct order of sewing and embroidery goes. Embroidering a ready-made garment is a lot more difficult because embroidering without the embroideryframe is impossible.
Maintenance:
The appendix, chapter 8, describes in detail how you can maintain the Bernette and how you can solve any problems. This is all clearly explained through drawings and step-by-step text.
We have not encountered problems ourselves. We had lost the thread twice, which was cut off a little too fanatically. The embroidery
machine does not register this and then simply runs without embroidery. Going back in the program, until the moment the wire suddenly became a bicycle, was more difficult than with the Veritas Florence. Pay attention! That saves a lot of time.
https://en.matri.eu/embroidery-machines/embroiderymachine-bernina-bernette-b70
https://en.matri.eu/solve-problems
Summary:
The Bernette B70 Deco is a beautiful, luxurious, modern embroiderymachine that you can use to beautify clothes and make fun embroidery on all kinds of sewing projects. It is an embroiderymachine, and not a sewing- and embroiderymachine in one.
The manual is very comprehensive and there are many tutorials on the links mentioned above. We advise you to sit in front of this and see everything as an extra, free workshop.
Getting started right away, without preparation, is more difficult than we initially thought. Experience with how you work with a display and 'digital thinking' is an advantage. If you have never worked with a display or computer-controlled sewing machine, it will take a while before it all goes smoothly. We therefore think that this embroidery machine fits more with seamstresses who already have experience with embroidery. This embroiderymachine can be done for an absolute beginner, but we do not recommend it.
We advise you to make a nice cover for the machine that also protects the embroidery area against dust. It is also advisable to purchase the starterkit for embroidery, if you do this often. Using the right yarns and needles is a must.
